Language: English
In this tutorial we set up an automation that emails the program coordinator each time a new patient is registered, entirely within ActivityInfo — no external workflow tool required. It uses ActivityInfo's built-in email step to send the notification.
We assume the role of a database administrator for a health program. Field teams register patients in a Patient Registration form throughout the day, and the program coordinator wants to be notified of each new registration as it happens.
What you need
- A database with a Patient Registration form (any form will do — adjust the field references to yours). Ours has a text field Full Name with the code
NAME, a quantity field Age with the codeAGE, and a single-selection field Status with the codeSTATUS. - Permission to design the database.
- The coordinator must be a user of the database, since email steps address database users and roles.
Step 1: Add the automation
Open the database and select "Database Settings".
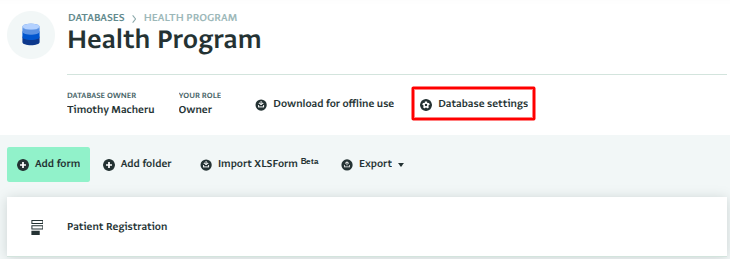
Database Settings Select the "Patient Registration" form.
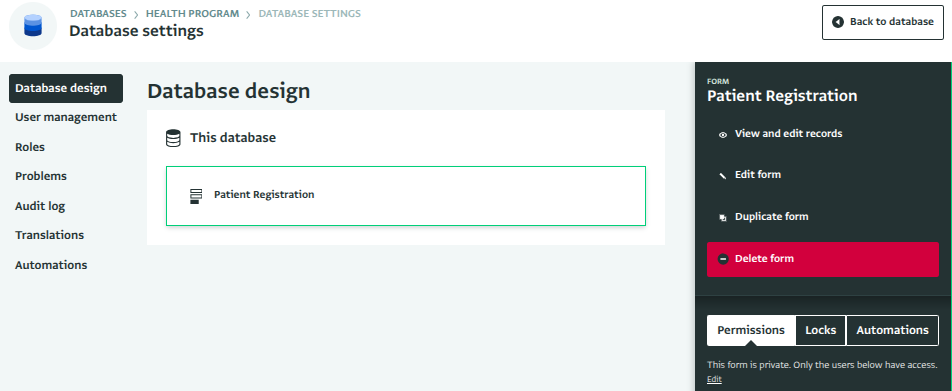
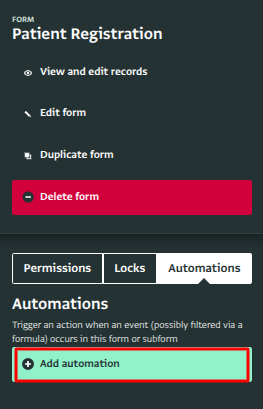
Patient Registration form Select Automations in the form's detail pane and select Add automation.
Add automation Name the automation "New patient registered".
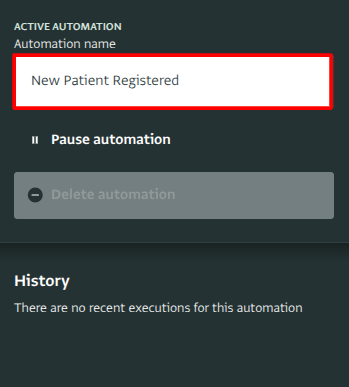
New automation
Step 2: Choose the trigger
Select Click here to get started.
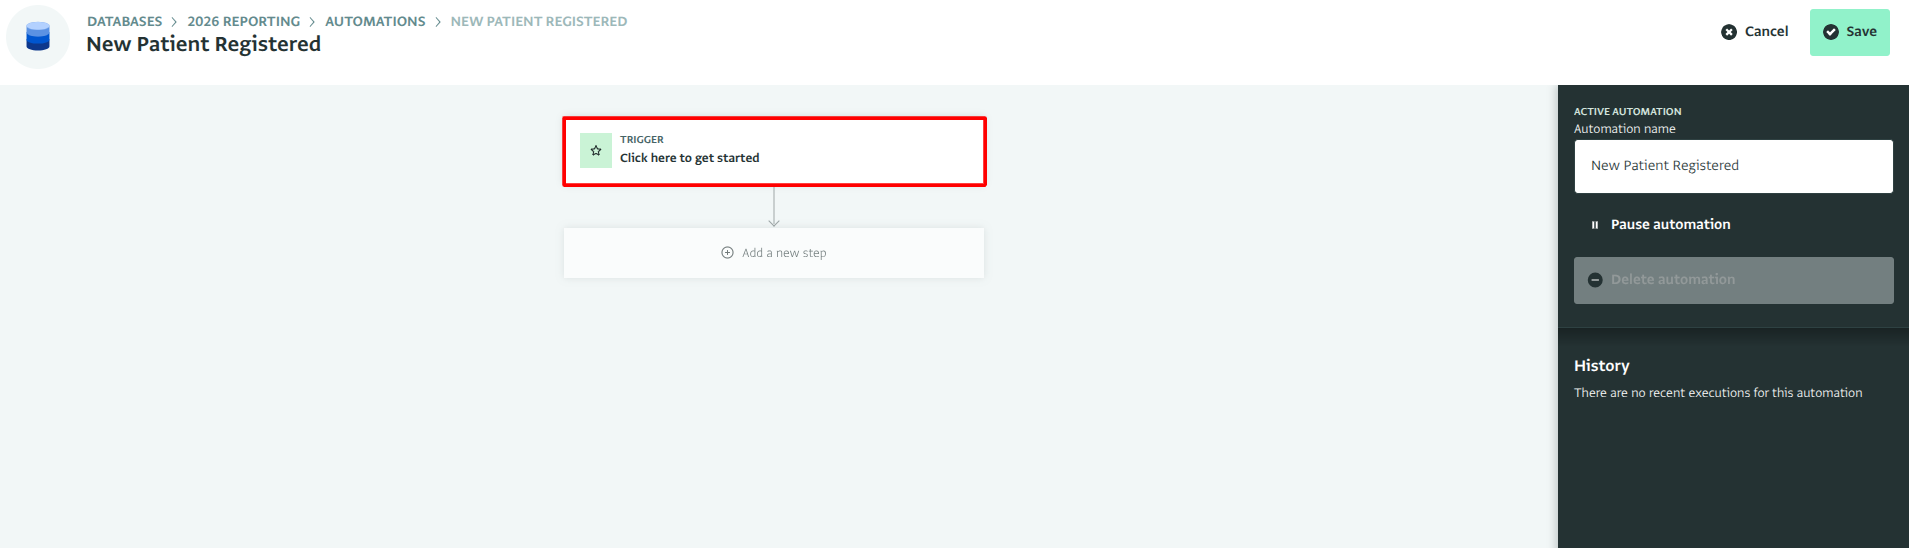
Click here to get started From the list of trigger types, choose On record added.
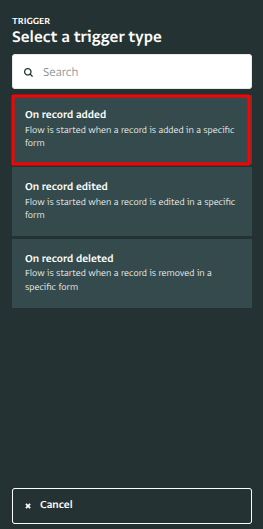
On record added Give the trigger a label, for example "Patient registered" and then select "Select form.
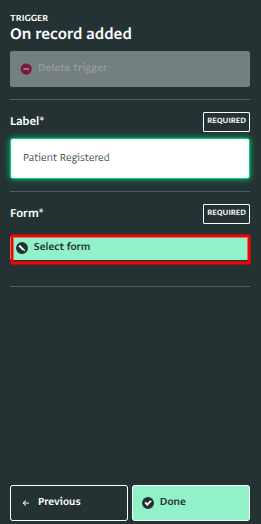
Patient Registered Trigger Choose the Patient Registration form, and confirm with Select form.
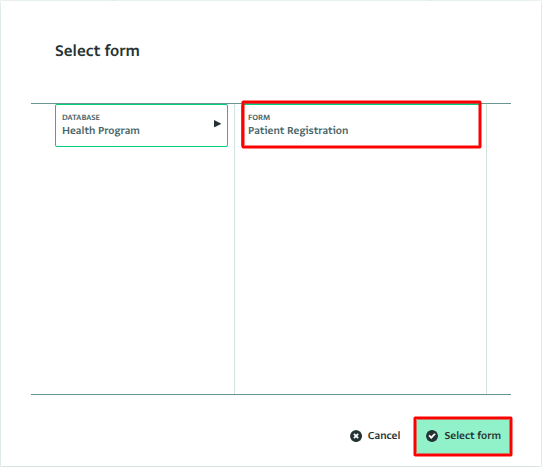
Select form Select Done.
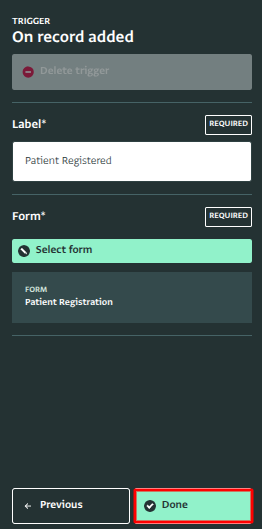
Done
Step 3: Add the email step
Select Add a new step.
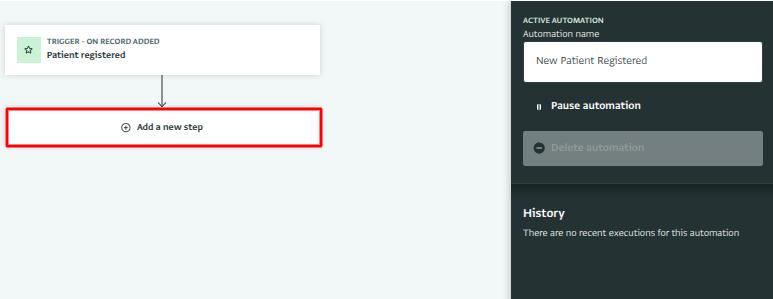
Add new step Select Action.
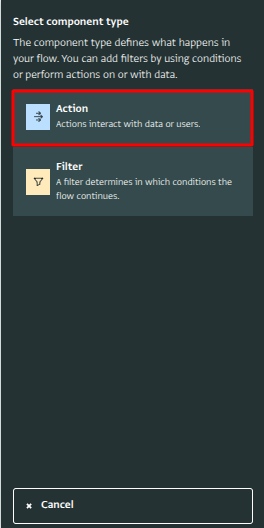
Action Select Send email.
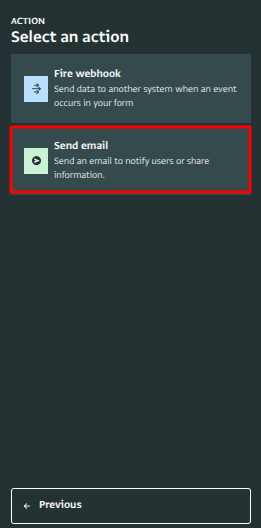
Send email action Give the step a label, for example "Notify coordinator".
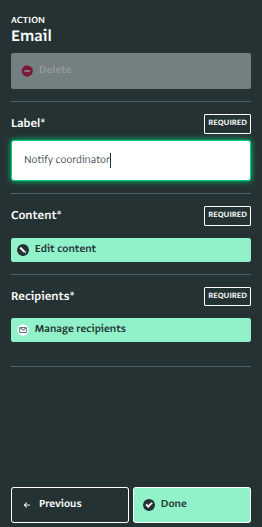
Label the email action
Step 4: Choose the recipients
Select Manage recipients.
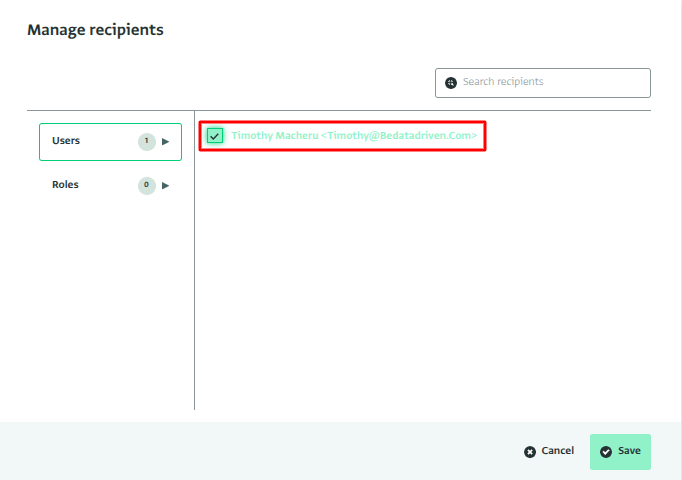
Add email recipients Add the program coordinator. You can add individual users, or a role — a role reaches everyone who holds it, including people added to the role later. Confirm your selection and click "Save".
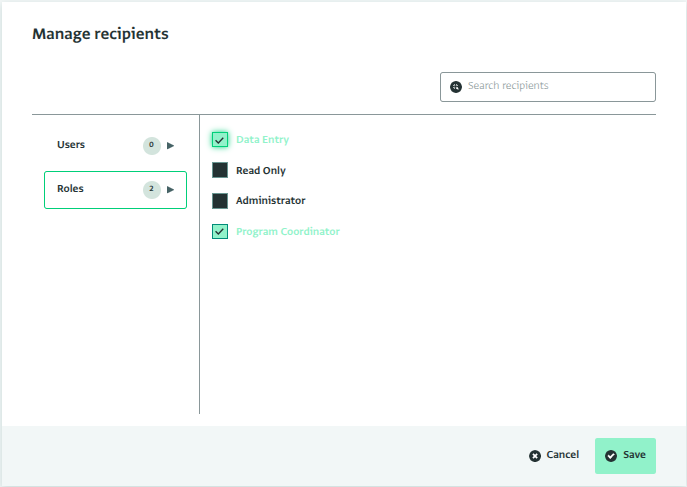
Add email recipients by role
Step 5: Write the email
Select Edit content.
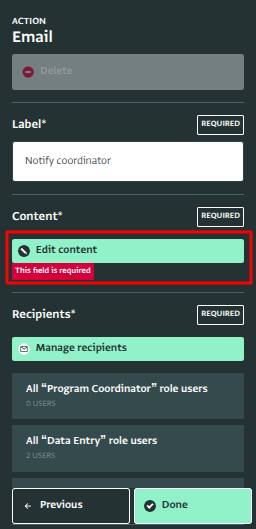
Edit content Enter the subject:
New patient registered: ${NAME}${...}references, like${NAME}above, are replaced with the record's field values when the email is sent. Rather than typing in a reference, place your cursor where you want it and click the matching field name in the list on the right to insert it there.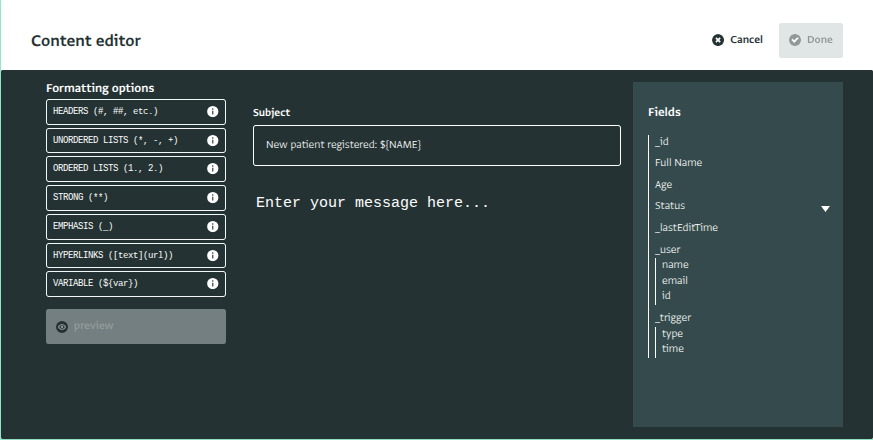
Add email subject Enter the body. Clicking a field on the right inserts a reference at your cursor. The body accepts markdown:
## New patient registration

   **${NAME}**, age ${AGE}, was registered by ${_user.name}.

   Status: ${STATUS}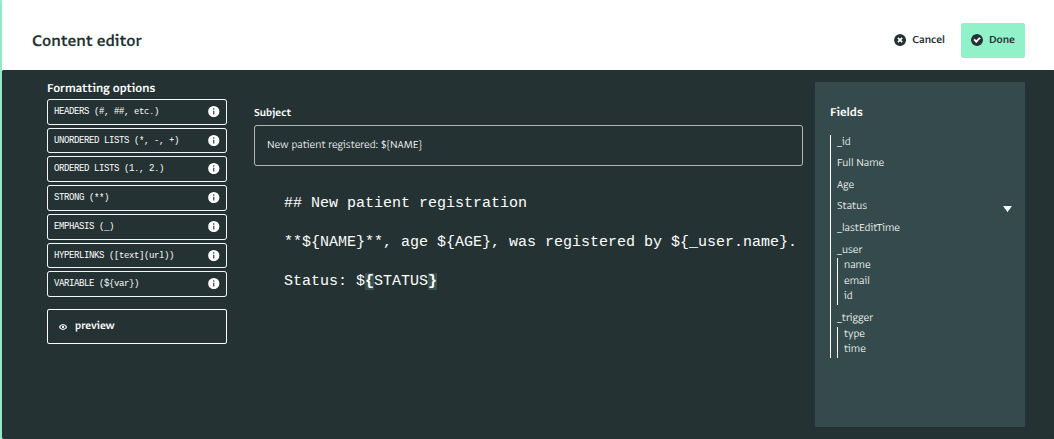
Add email body Select Done to close the content editor and Done again to close the step.
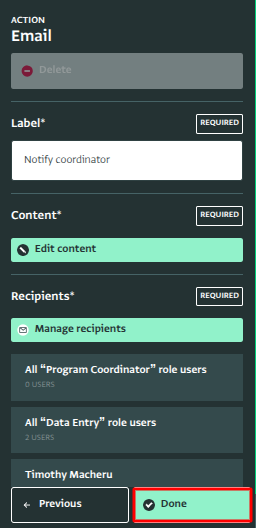
Complete the email step
Step 6: Save and test
Select Save. The automation is now active.
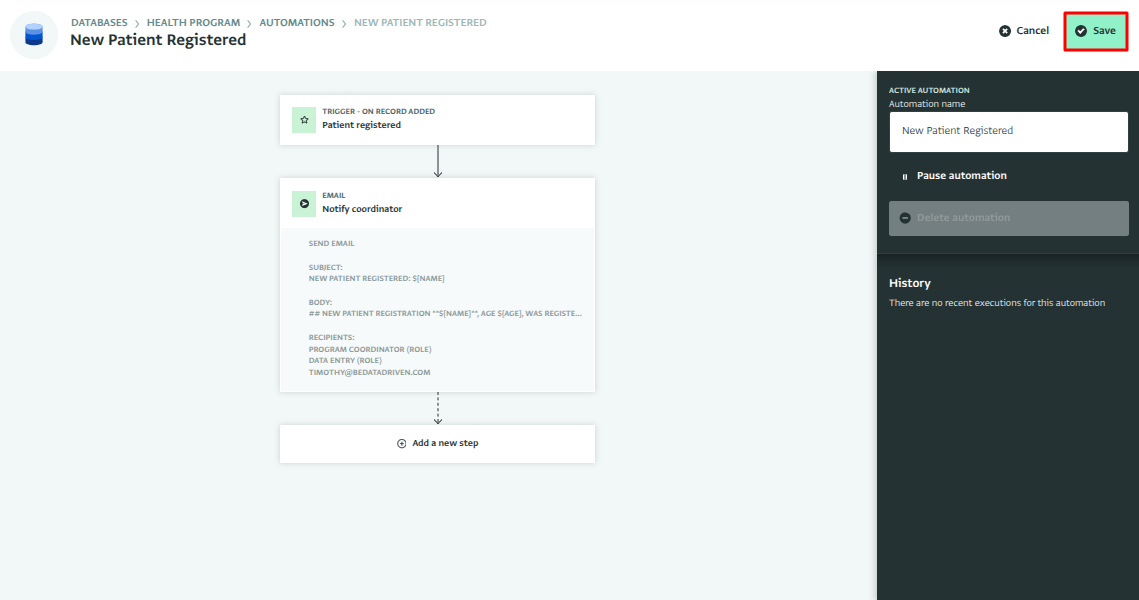
Save the email step Add a test record to the Patient Registration form.
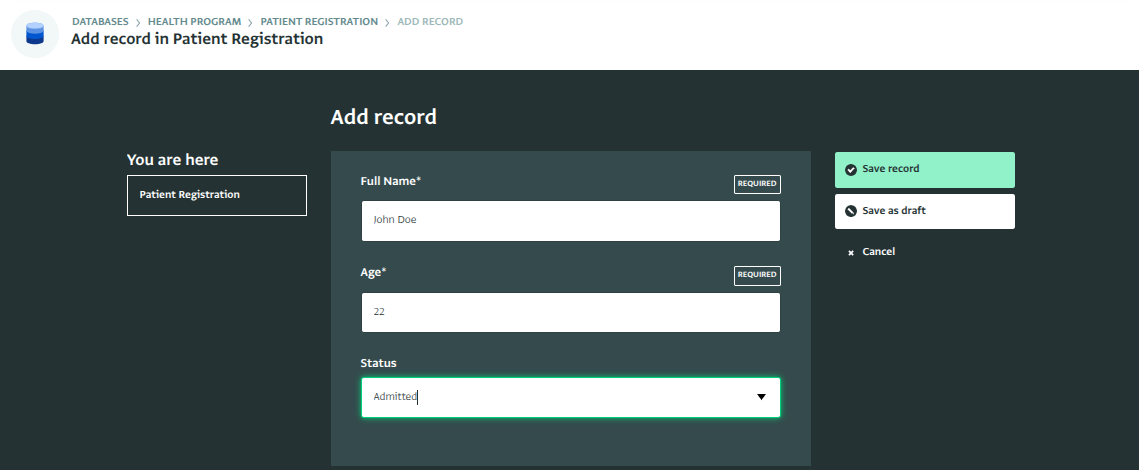
Add a record Within moments, the coordinator receives an email containing the patient’s details, along with a View record button that is automatically added to the email alert. When clicked, the button opens the record directly in ActivityInfo.
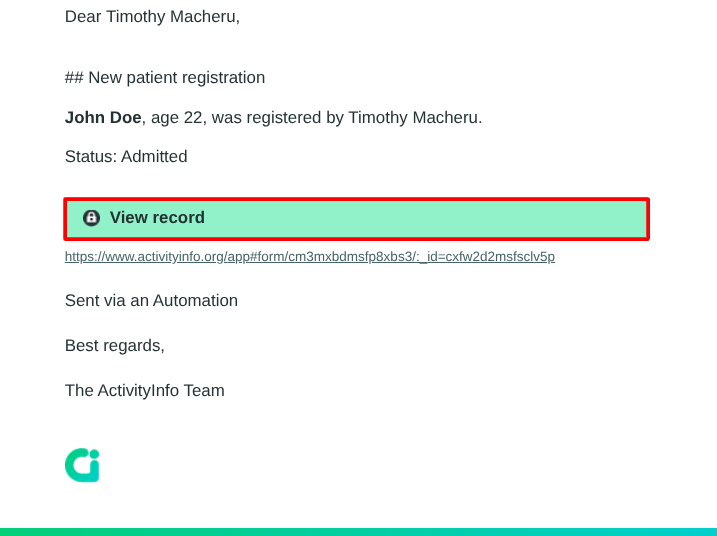
Email alert
Going further
- Notify only for some registrations: add a filter step between the trigger and the email — for example
AGE < 5to notify only for under-five registrations. - Notify on status changes instead: use the On record edited trigger with the filter
STATUS != _previous.STATUS, and include both values in the email:Status changed from ${_previous.STATUS} to ${STATUS}. - Send the registration to another system instead of (or in addition to) email: add a webhook step.