Language: English
This article is about configuring automatic user offboarding with Microsoft Entra ID and the System for Cross-domain Identity Management (SCIM) standard protocol.
Step 1: Create the application
Navigate to https://entra.microsoft.com/ and log in with admin user
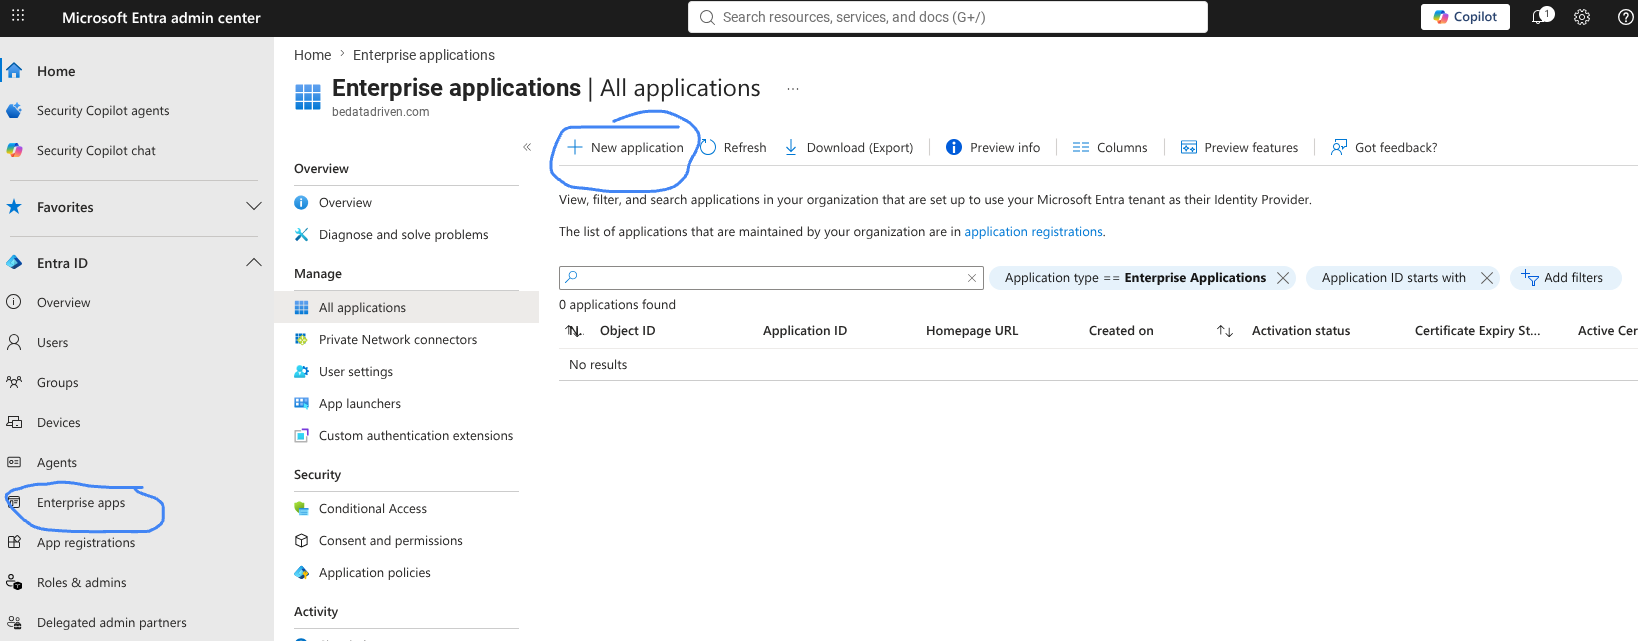
Select “Enterprise Apps” from the “Entra ID” section on the left hand side.
Click "+ New Application" from the toolbar
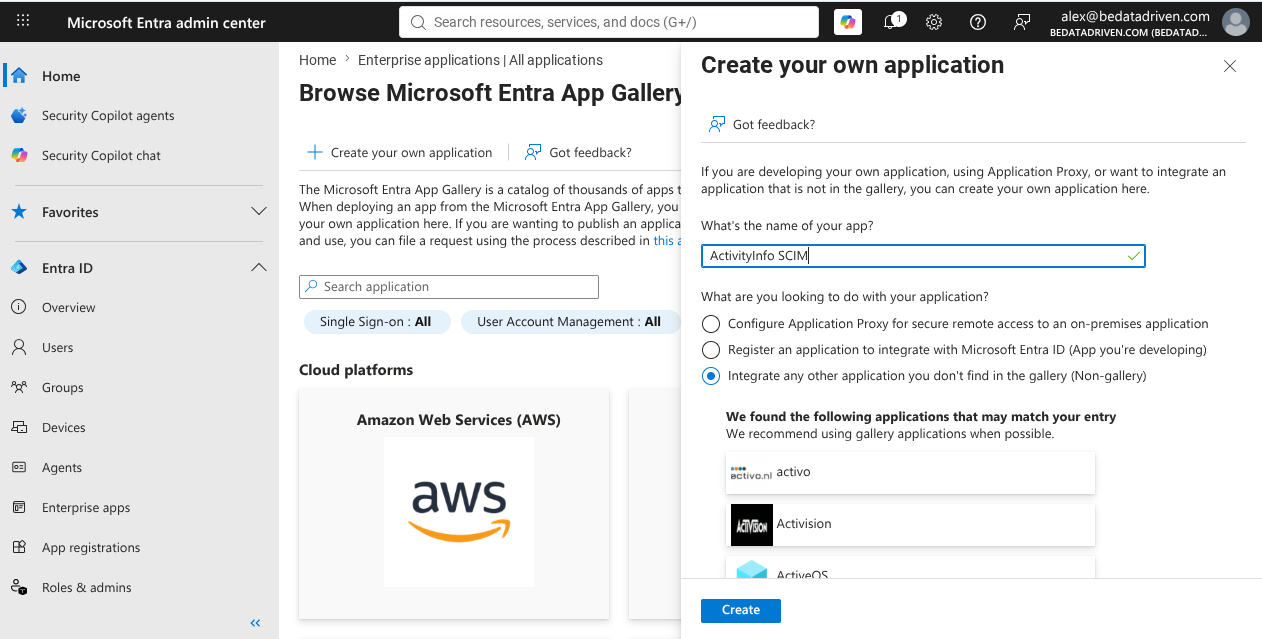
Click “+ Create your own application”
Enter "ActivityInfo SCIM" as the name of your app.
Choose “Integrate any other application you don't find in the gallery (Non-gallery)
Click “Create”
Step 2: Assign users
Choose “Users and groups” from the left-hand side
Click “+ Add user/group”
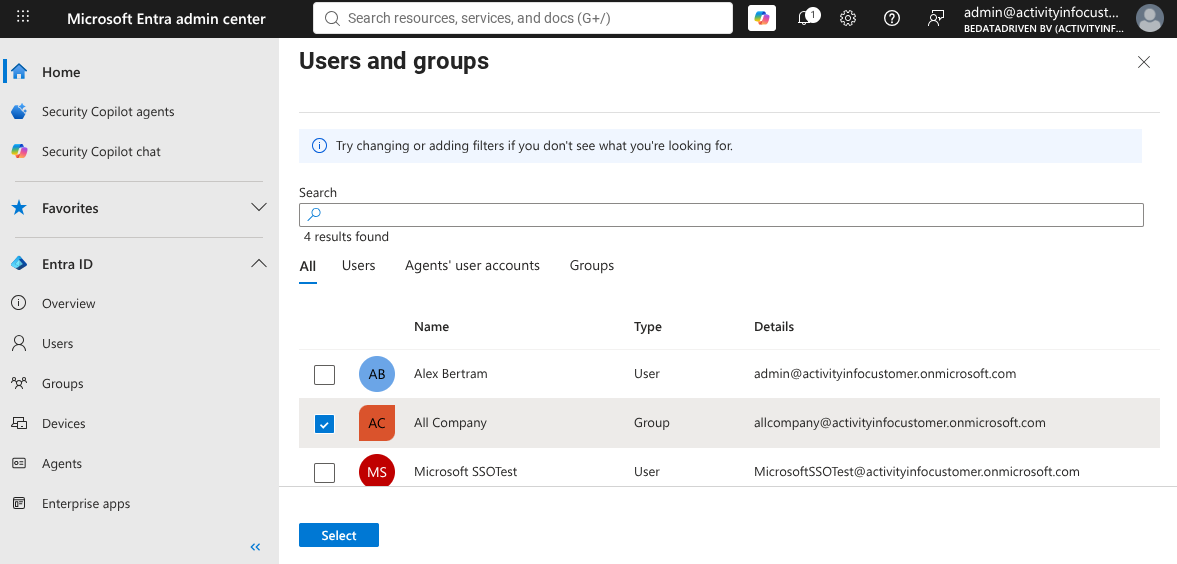
Click “None selected” under “Users and Groups”. Then check “All Company” and then click the “Select” button.
Then click “Assign”
Step 3: Generate token in ActivityInfo
From your profile menu, click "Billing account"
Navigate to the SCIM section in the Billing admin page:
Click “Add SCIM Token”
Enter "Microsoft Entra" as the label. Then click "Generate".
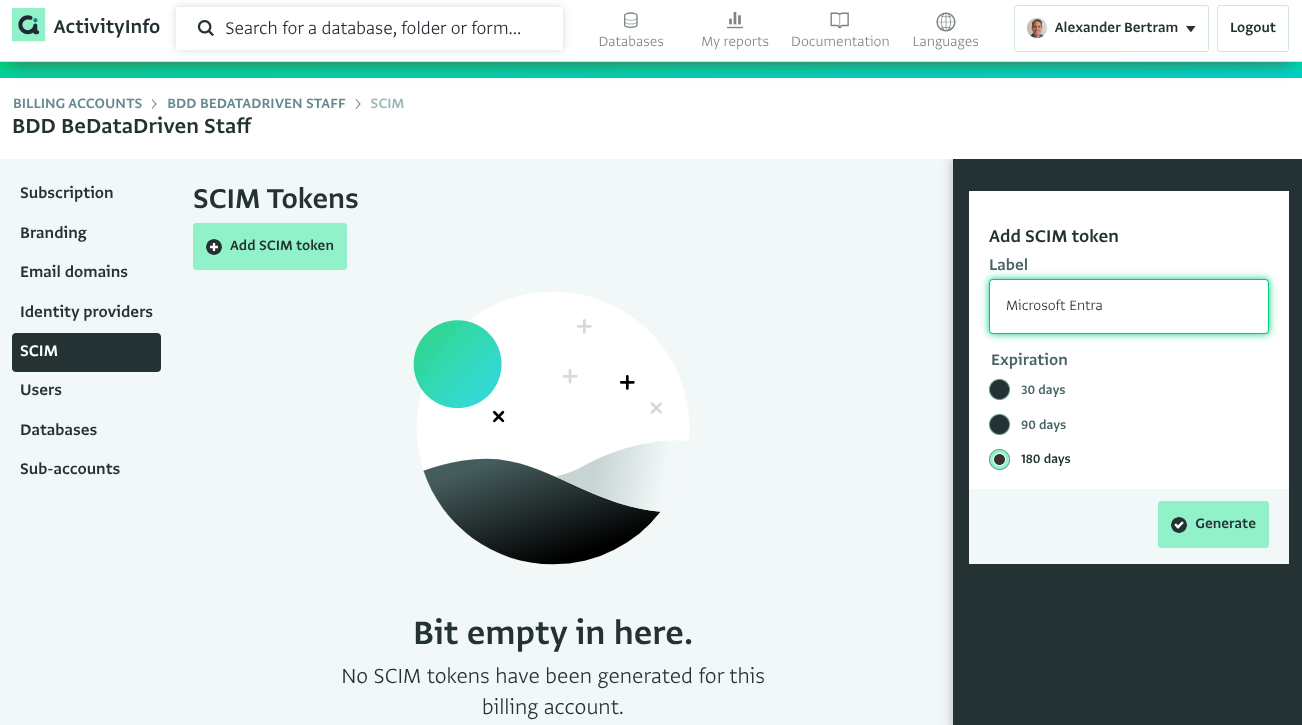
Step 4: Configure provisioning
Choose “Provisioning” from the left-hand side
Click “+ New configuration”
In Admin Credentials, copy the details from ActivityInfo, including the Tenant URL and the Secret Token.
Click “Test Connection”
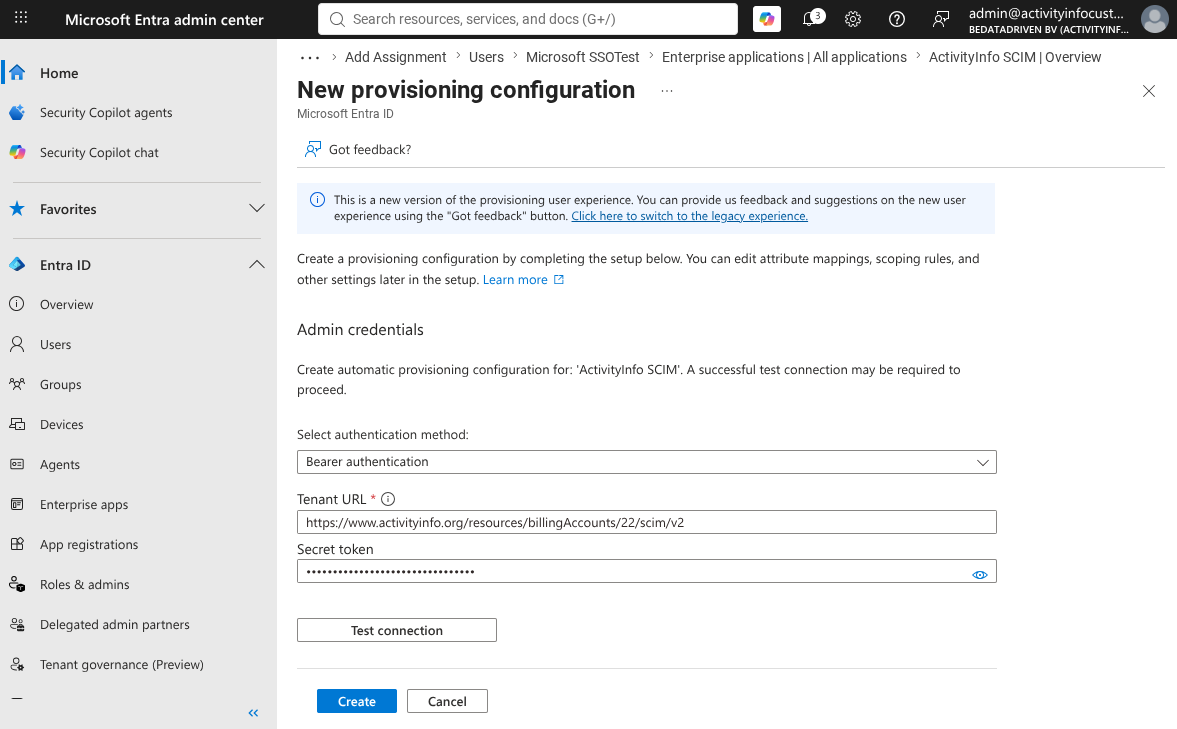
You should receive a message that "Connection test for 'ActivityInfo SCIM' was successful."
Then click "Create".
Step 5: Start provisioning
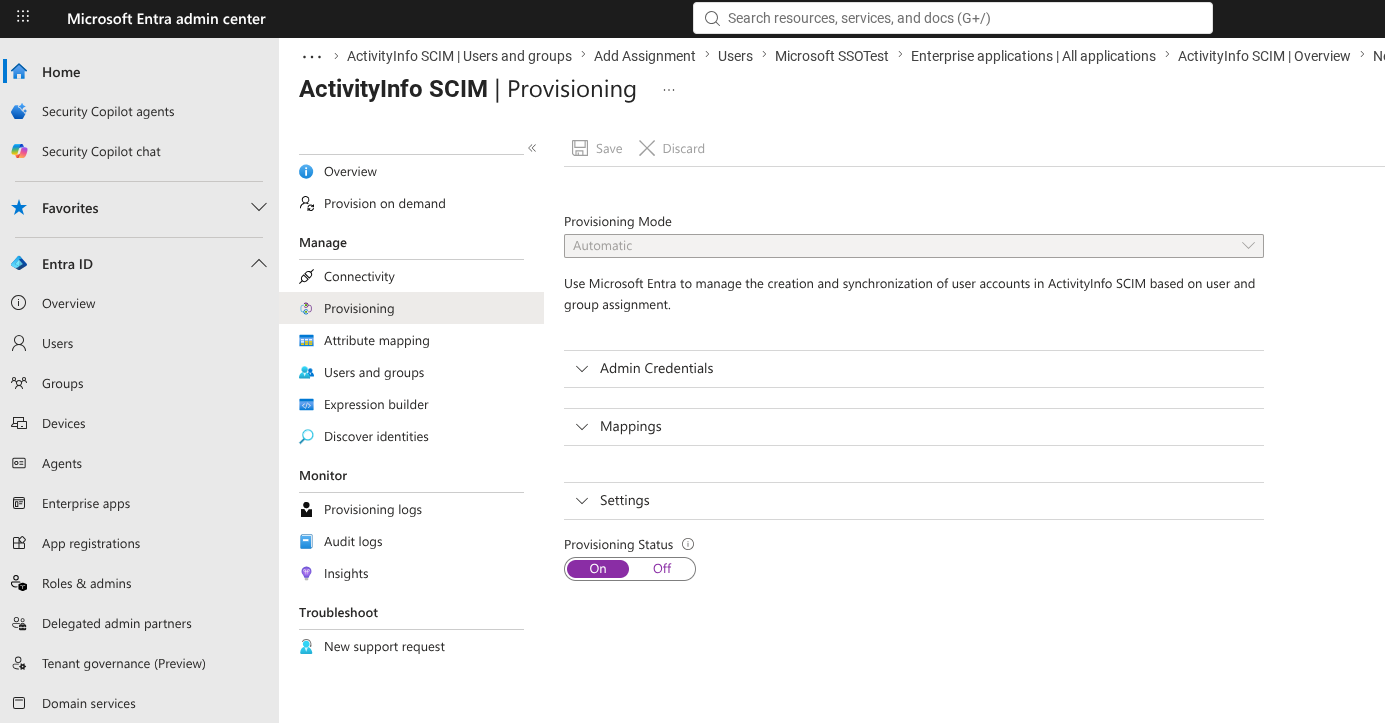
From the left-hand side, click "Provisioning".
Then set "Provisioning Status" to "On" and then click "Save".