Language: English
This article will help you add a user to your database.
Before you start
- Make sure you have already added a role in the Database.
- Make sure your own role has the “Manage users” operation permitted. Your role must also allow you to assign the role that you want to give the new user. In the role's permissions dialog, this role must be checked under “Assignable roles”, or “Any role” must be checked. For more information, see Understanding the Manage users permission.
What happens when you invite a user?
You can invite a user using their email address to your database, and assign them a role. The role the user is assigned will determine what the user will be able to see in your database, and what changes they will be allowed to make. To learn more about roles, read the Understanding Roles article.
The list of roles you can choose from shows only the roles that your own role allows you to assign.
- If the users added have an ActivityInfo account, the new Database will appear in their Database list page when they are added and they will receive an email to notify them about the invitation to join the Database.
- If the users added don't have an ActivityInfo account, an email will be sent by ActivityInfo to the email address provided to inform them about the invitation to the Database. Once they create an account and sign in ActivityInfo they will be able to access the Database in which they have been added.
Inviting the user
- On the Database List page, click on the Database that you want to add a user to.
- Click on "Database settings" to open the Database Settings page.
- Click on "User management" to open the User management section and click on "Add user" to add a new user.
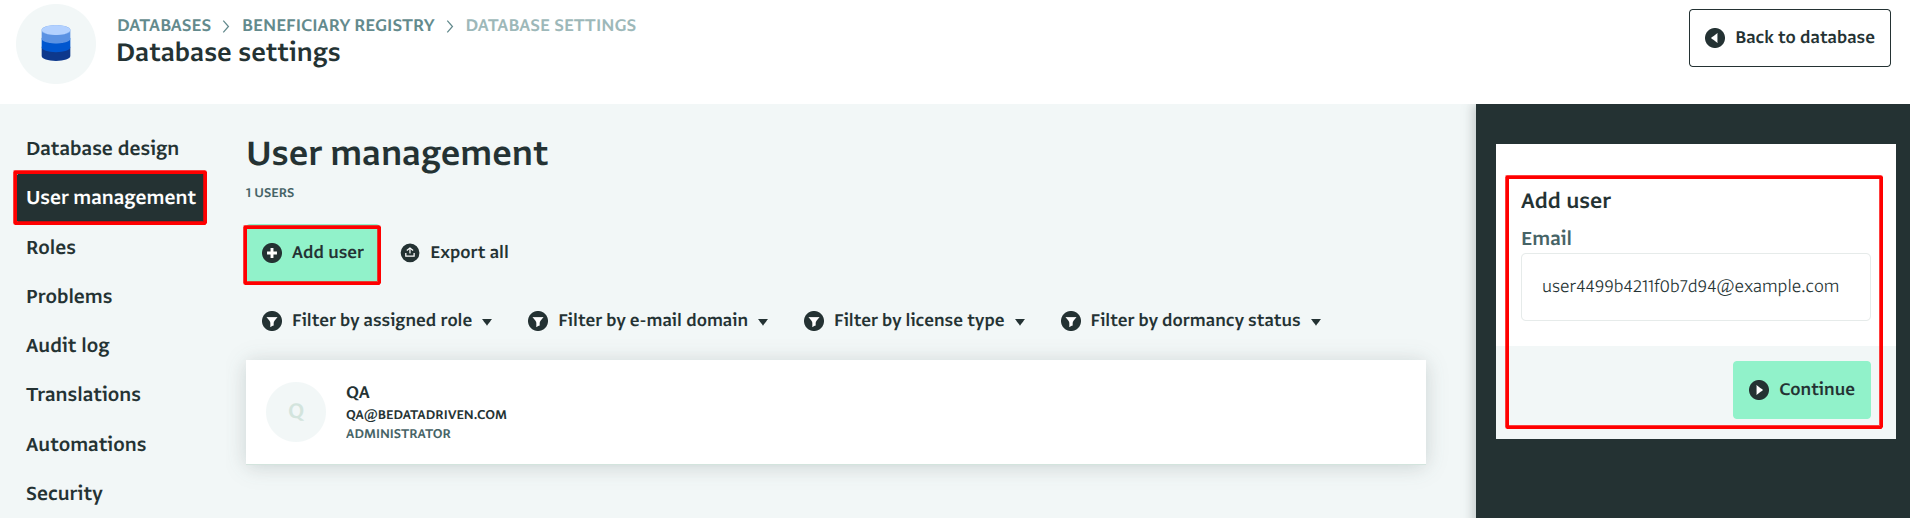
- In the Side panel, type the email of the user you want to add and click on "Continue".
- If the user doesn't have an account in ActivityInfo, give a name to the user by entering a name in the "Name" field and select the language of the invitation they will receive. The user will be able to change that name when they accept their invitation to ActivityInfo and they sign up.ActivityInfo sends an email to the user you invite to a Database when the user doesn't have an ActivityInfo account.
- If you start adding a user that has already been added to this Database, an alert will warn you about it and you won't be able to click on "Continue". Instead you can edit the user.
- If you start adding a user that already has an account in ActivityInfo, you will be notified about it too.
Selecting optional grants and parameter values
When you invite a user and assign them a Role, you can control which granted resources they will have access to. With this action, you can remove access to specific resources for selected users with the same role by setting the resource (grant) as optional.
You can also restrict users' access to records based on specific parameters to ensure that their access will be valid. For example, ensure that they can view/edit/delete records added only by their organization or related to a specific location.
Sending the invite
Click “Send invite” to finish inviting the user.
In the User management section, "Invalid email" means that the email of the user is not valid and "Invite pending" means that the user hasn't accepted the invitation to ActivityInfo yet.