Language: English
In this tutorial, you will add your first role to your database. Assuming you want to create a simple role for case observers who would be able to enter data into your database, follow these steps.
Before you start:
- Make sure you have already added a database and
- You have been assigned to a role with the “Manage roles” and “Manage users” operation permitted.
- If not, you can use the training and monitoring template to add a new database.
Add the role
- Go to your “Database settings” and locate the "Roles" section. Click on it.
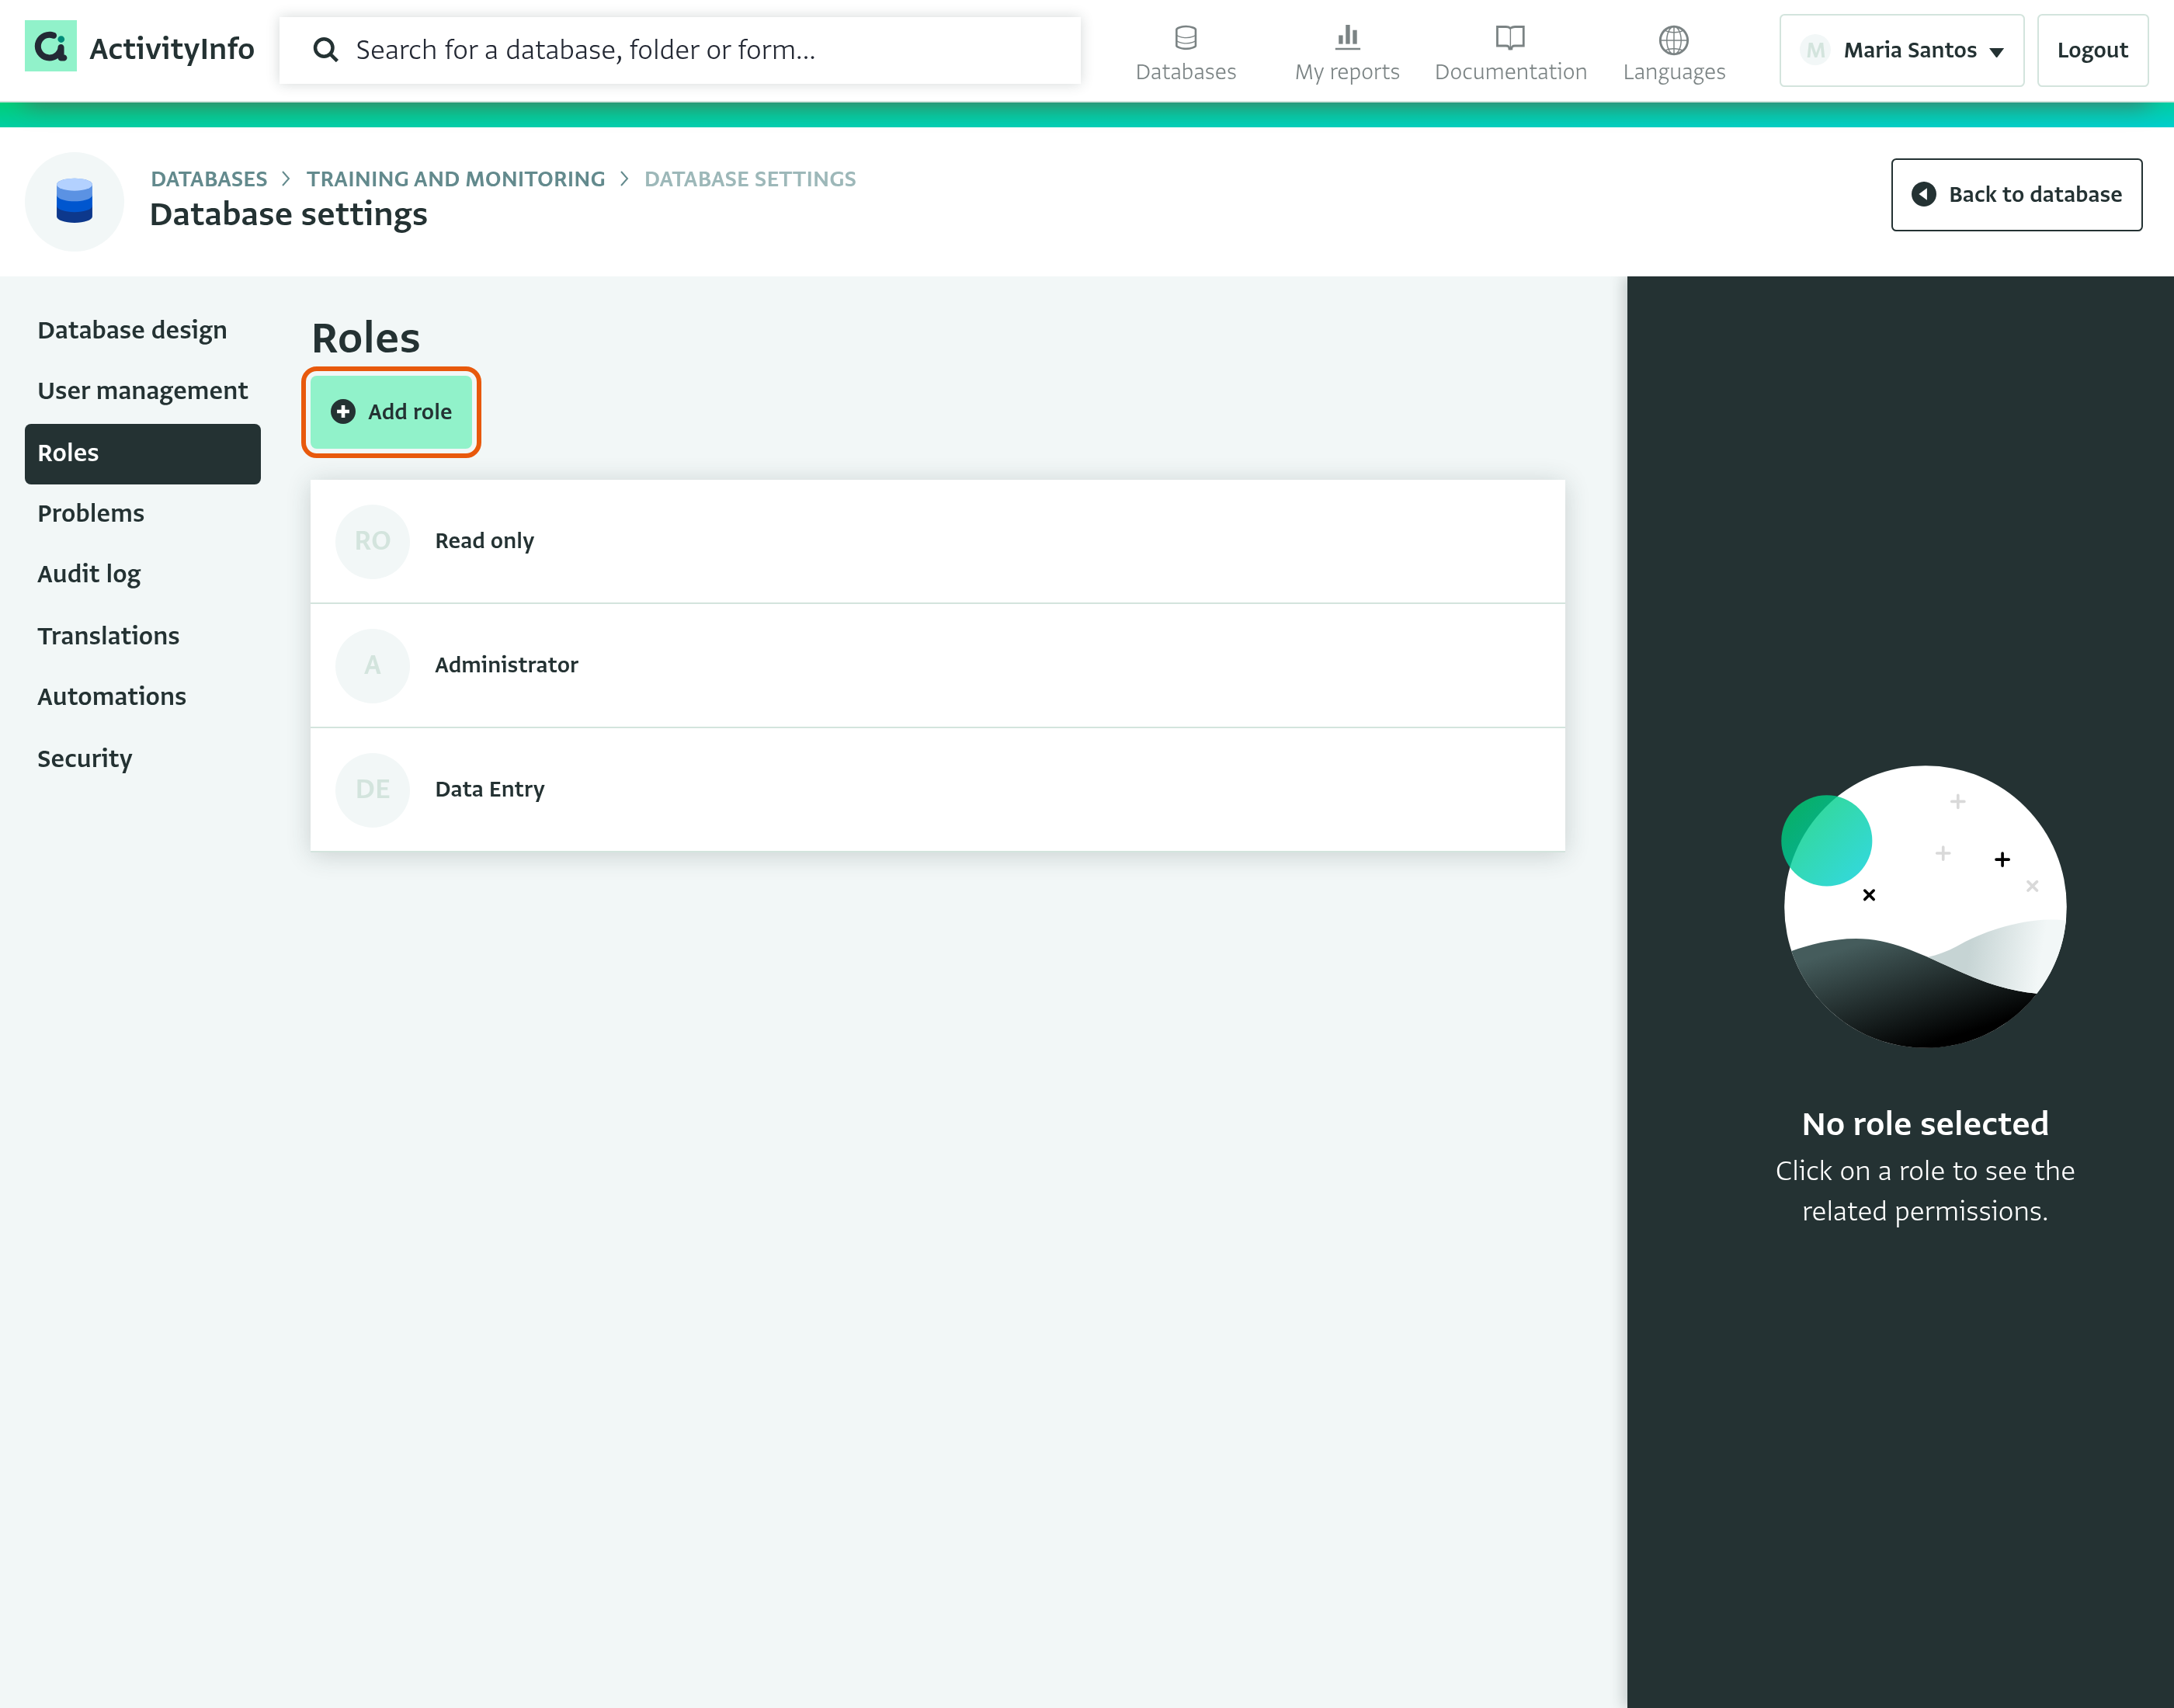
- Click on "Add role." Name the role "Case Observer" and then click "OK." You should see this new role appear in a list.
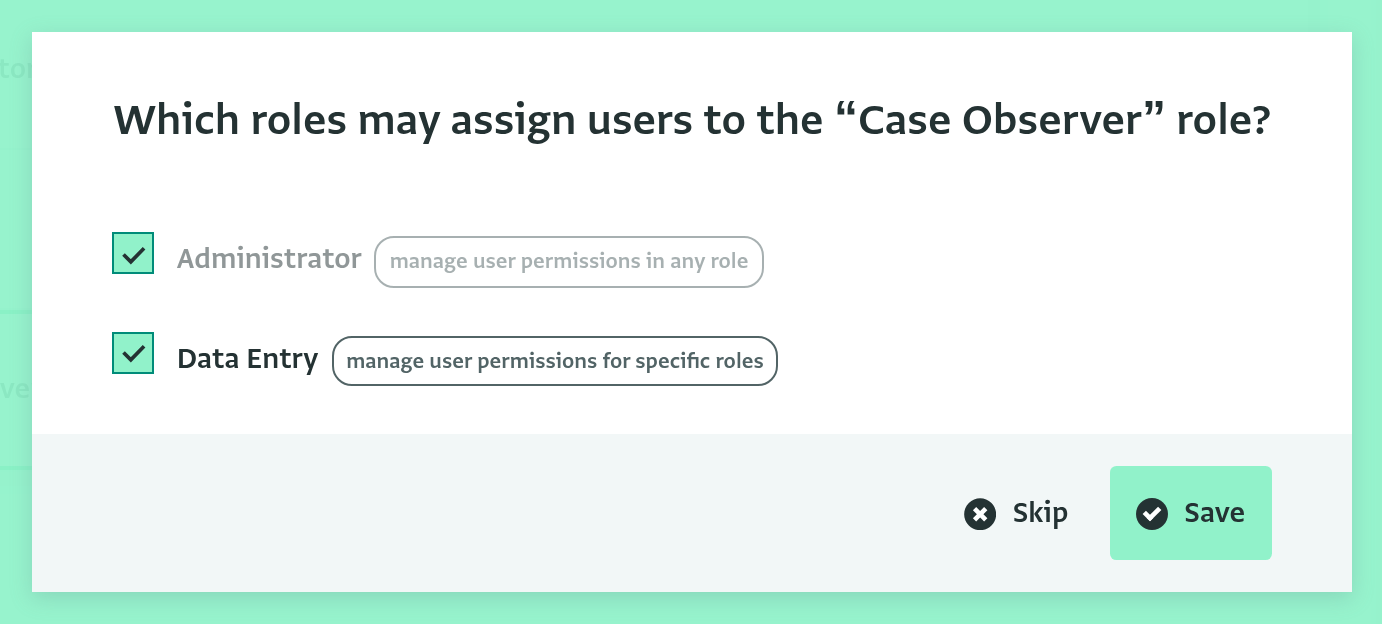
- If other roles in the database can manage users, ActivityInfo asks "Which roles may assign users to the “Case Observer” role?". Check the roles whose users should be able to invite case observers and click "Save", or click "Skip". Roles that can manage users in any role, such as Administrator, are always included.
Add resources to the role
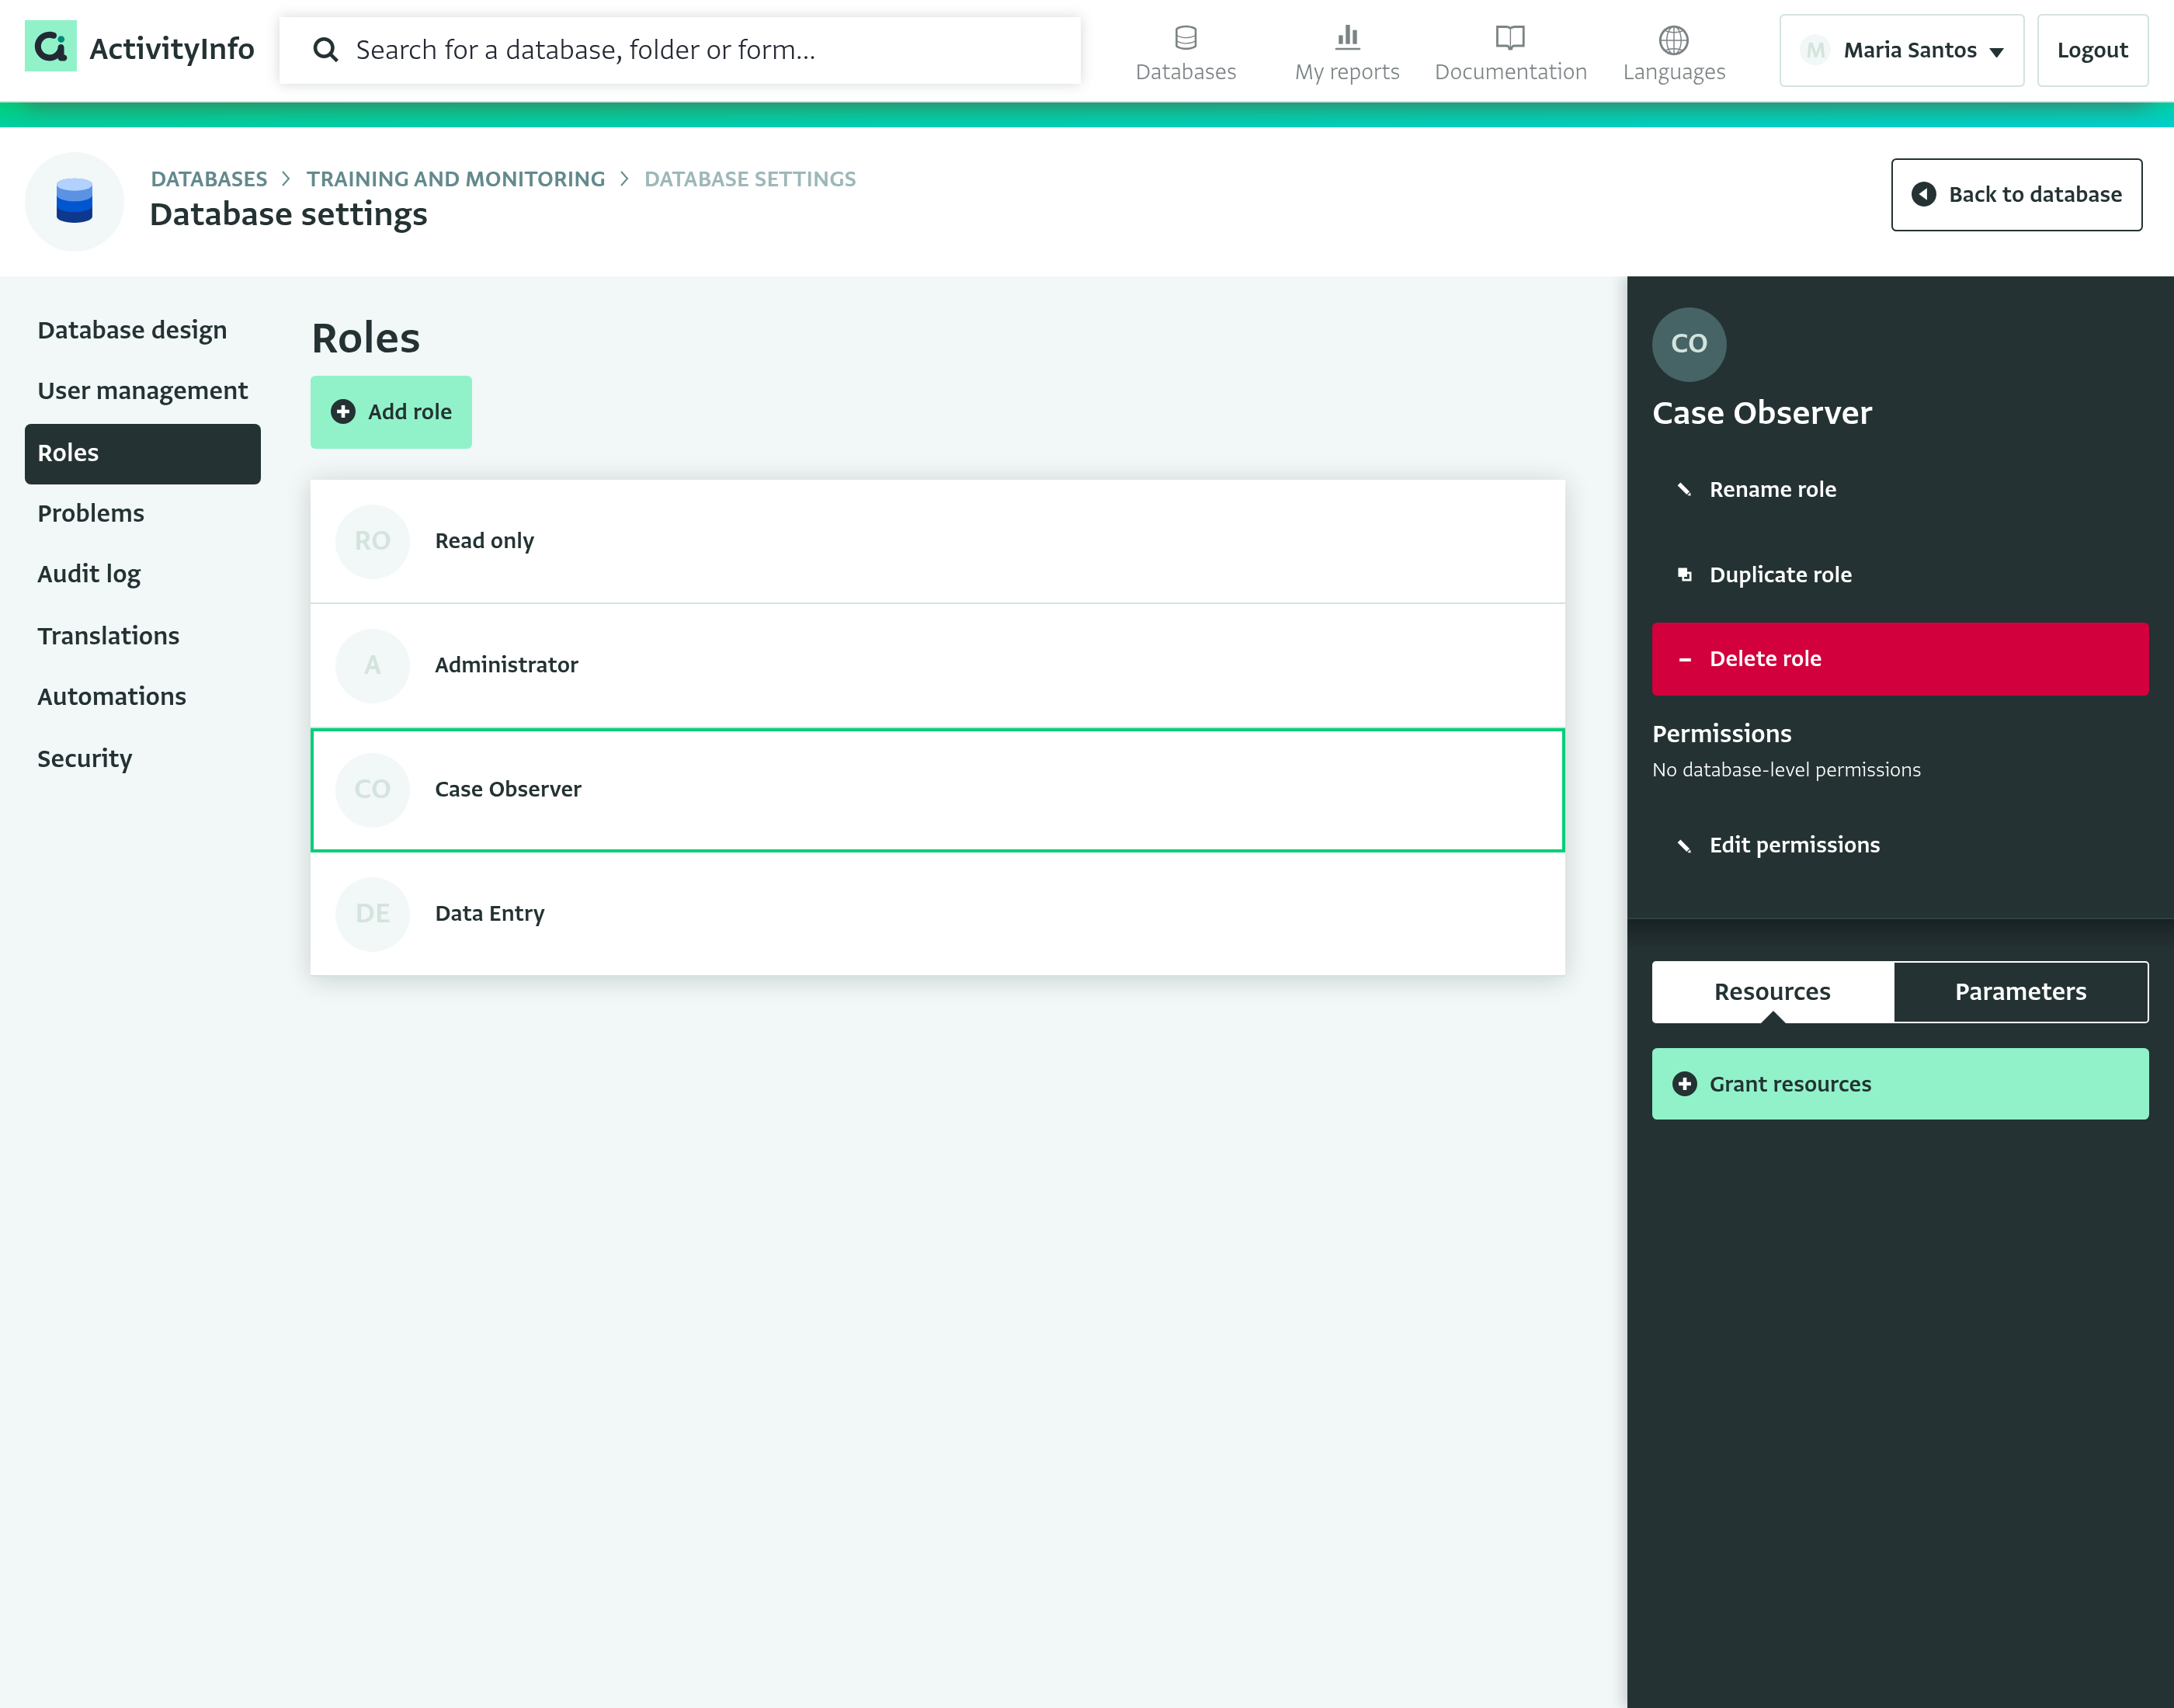
- Click on the "Case Observer" role, and a menu will appear in the right side panel.
Grant a resource
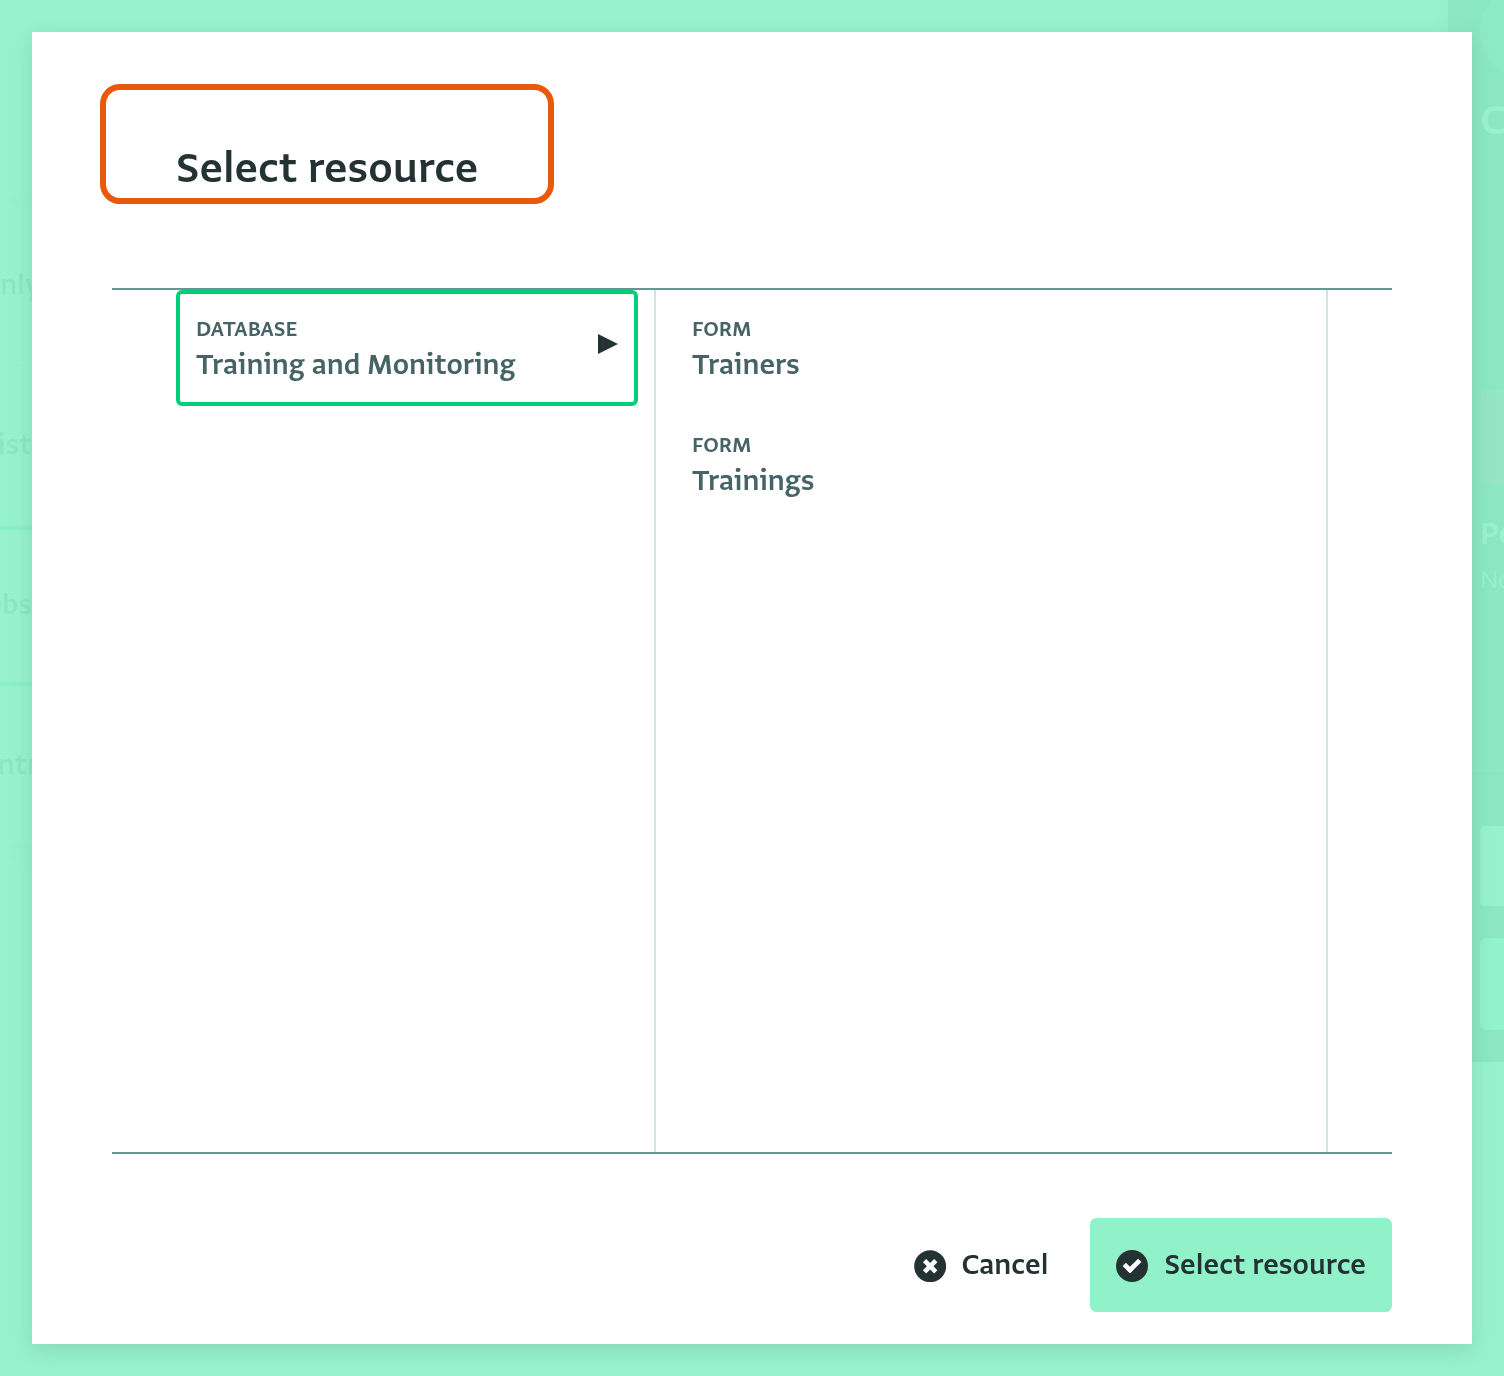
- Click on “Grant resources” to display the list of resources that are available in your database.
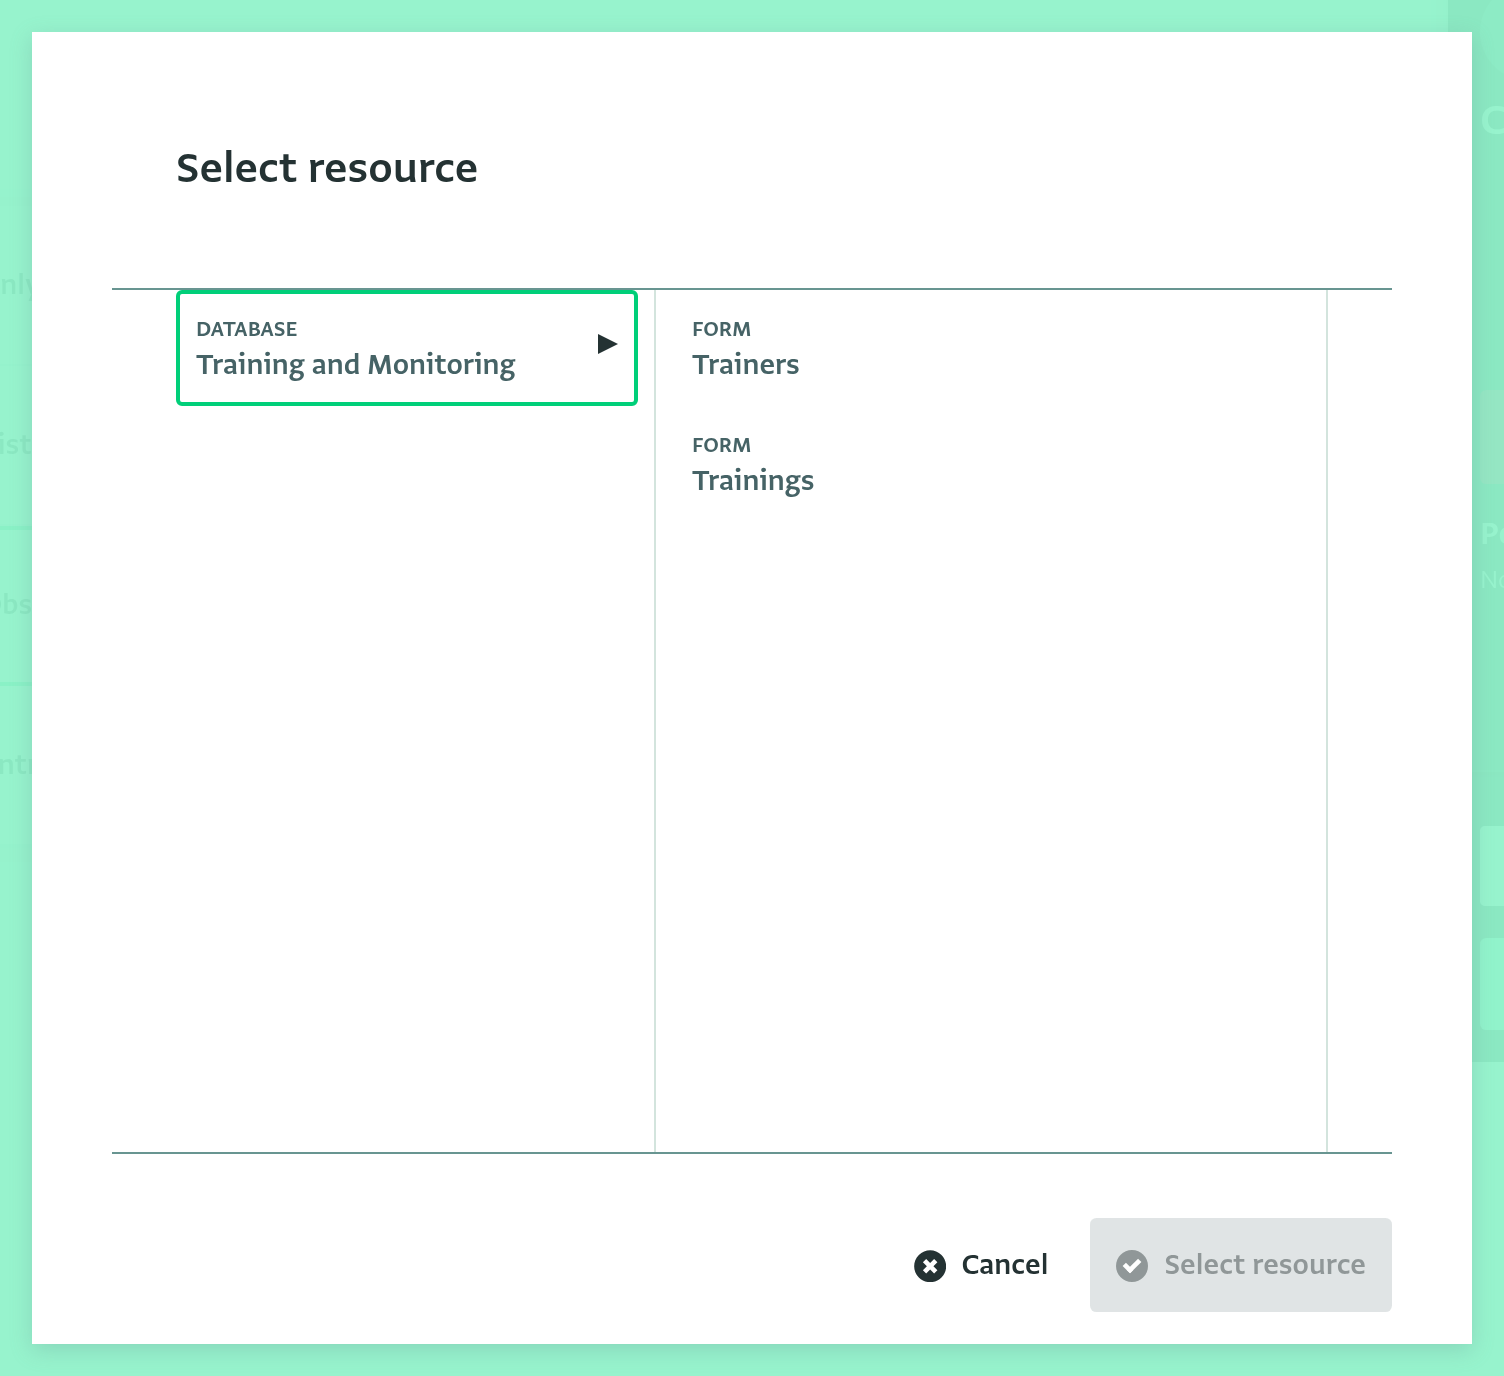
- Click on your Database, which is listed by its name in the first column, and then click “Select resource”. This will apply the grant to the entire database: all forms, folders, and reports in the database.
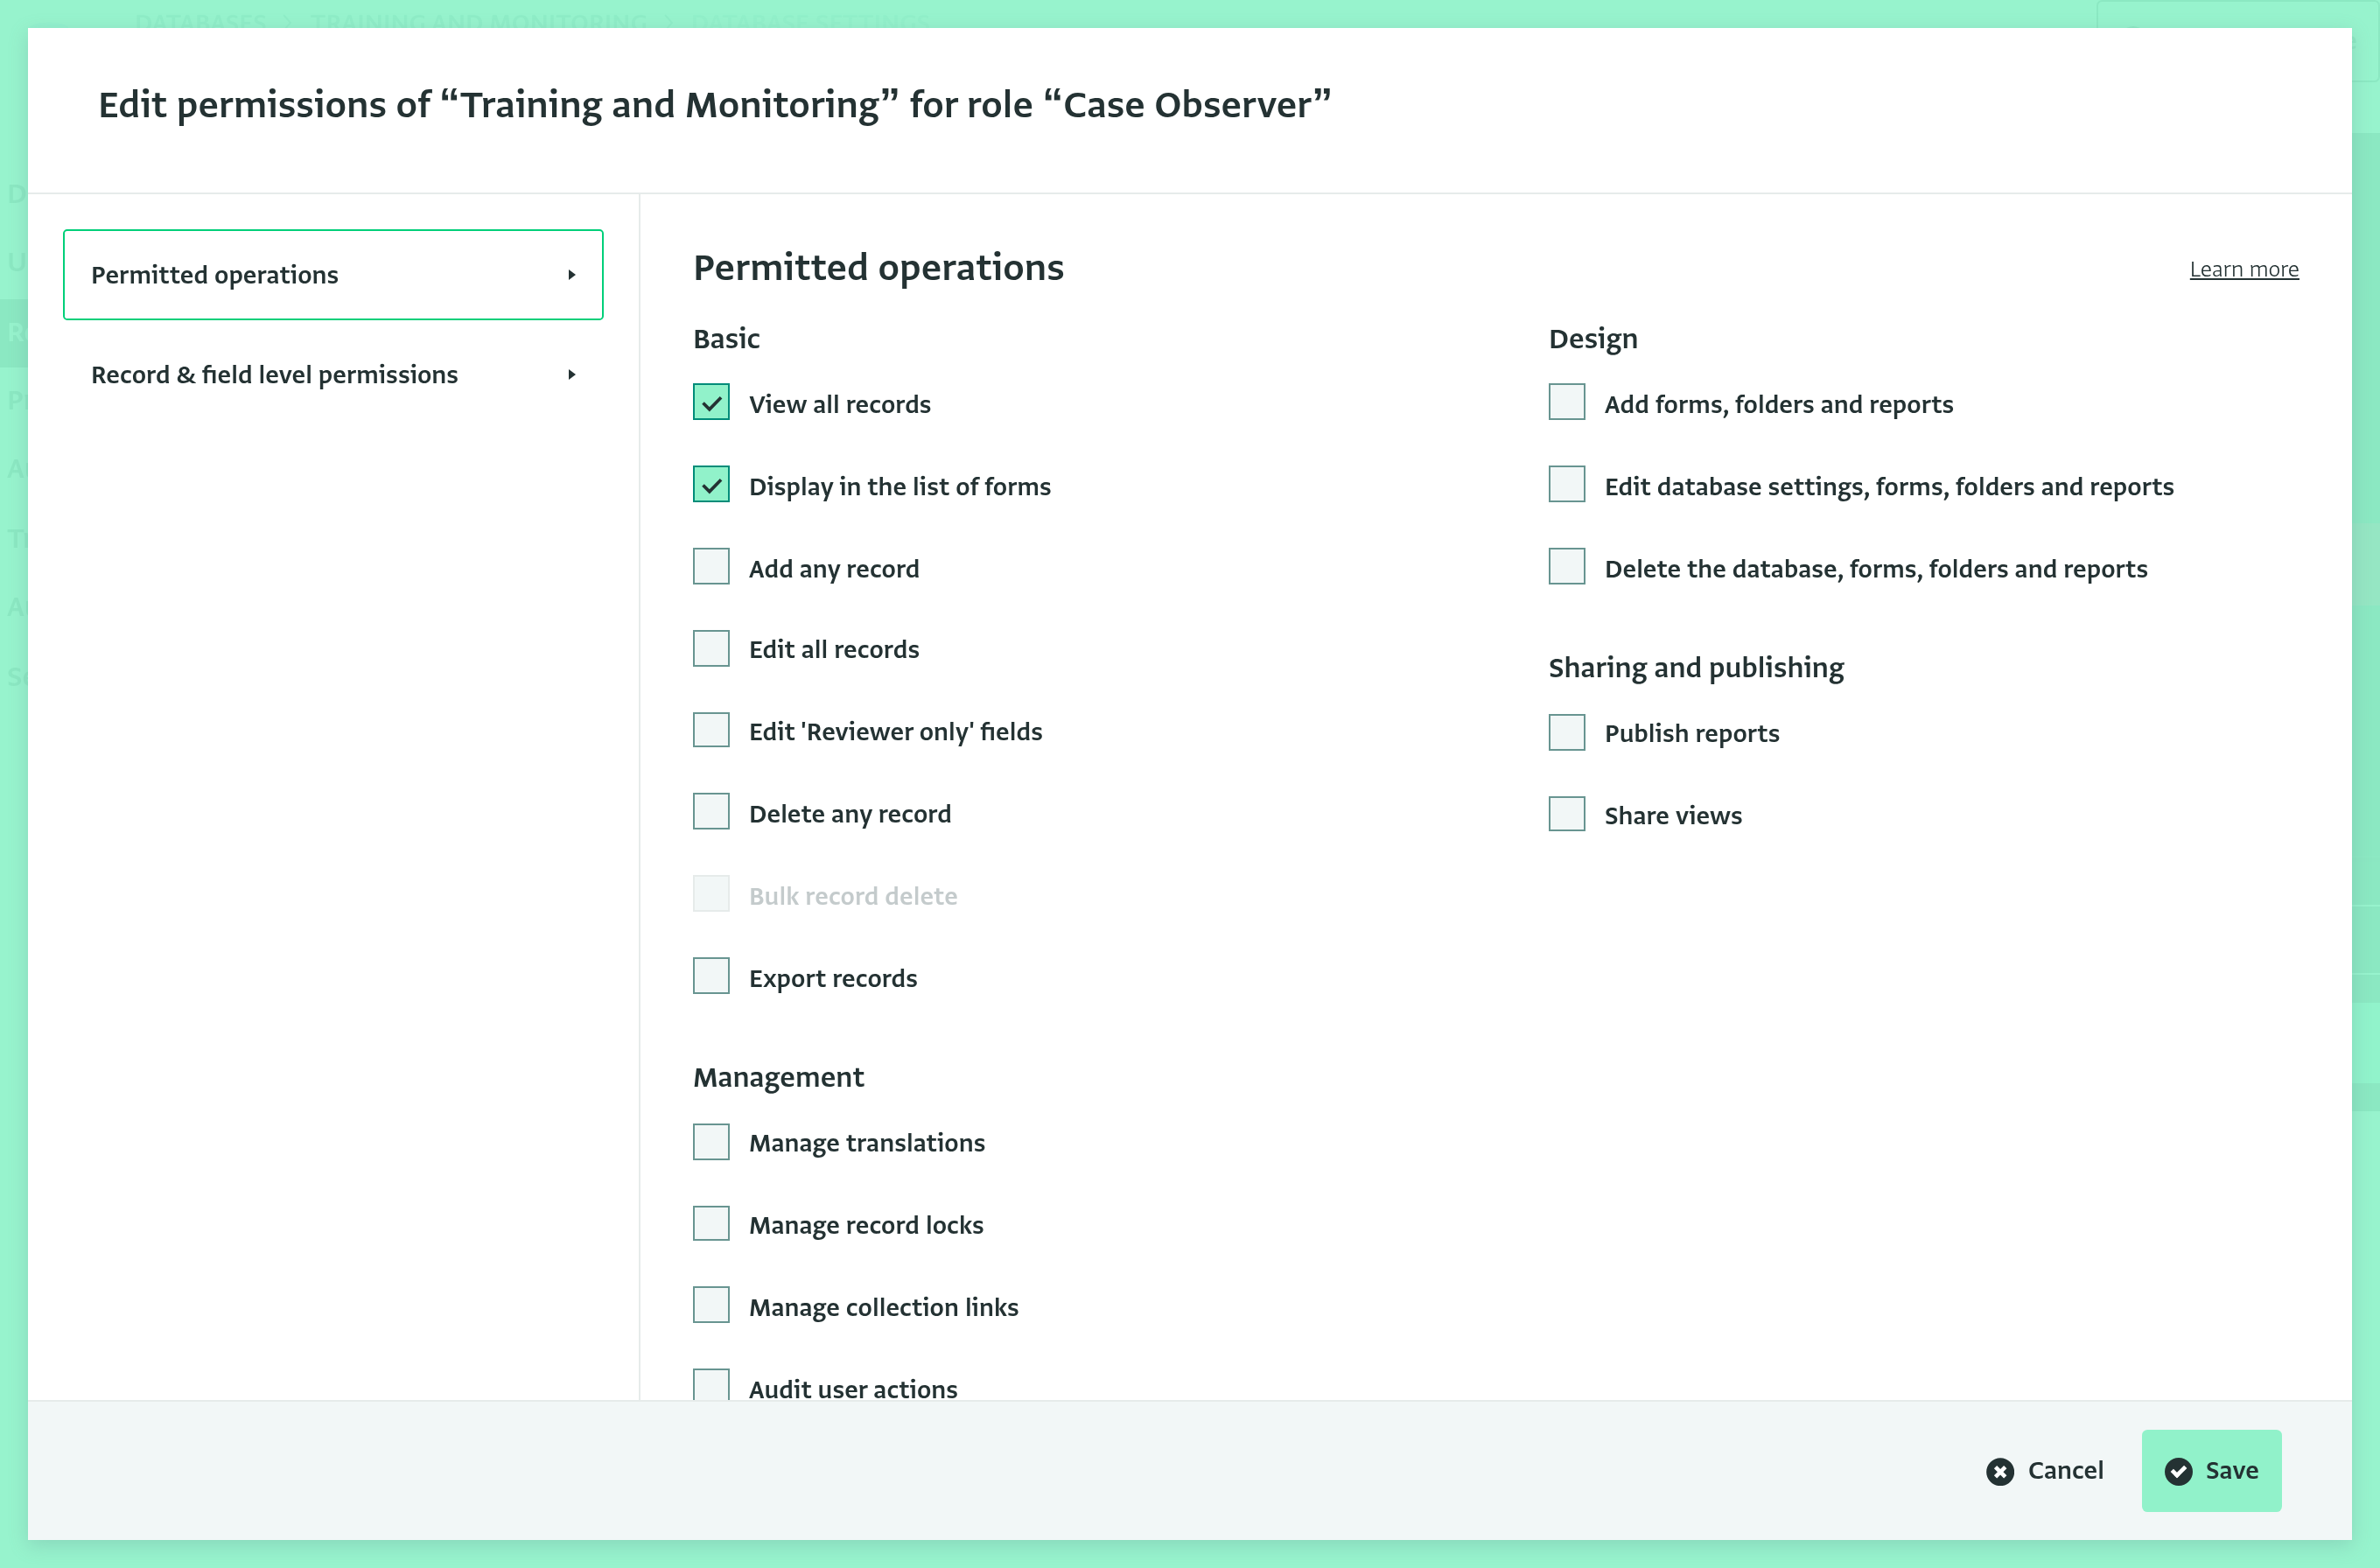
- The "Edit permissions of “[your database]” for role “Case Observer”" dialog opens on the "Permitted operations" section.
Assign operations
- Under “Permitted operations”, check the boxes next to the operations that you would like to allow for this resource. These may include operations to view all records that belong to the selected resource, display the resource in the list of forms, and perform basic edit operations. You can find the link to references of all permissions here.
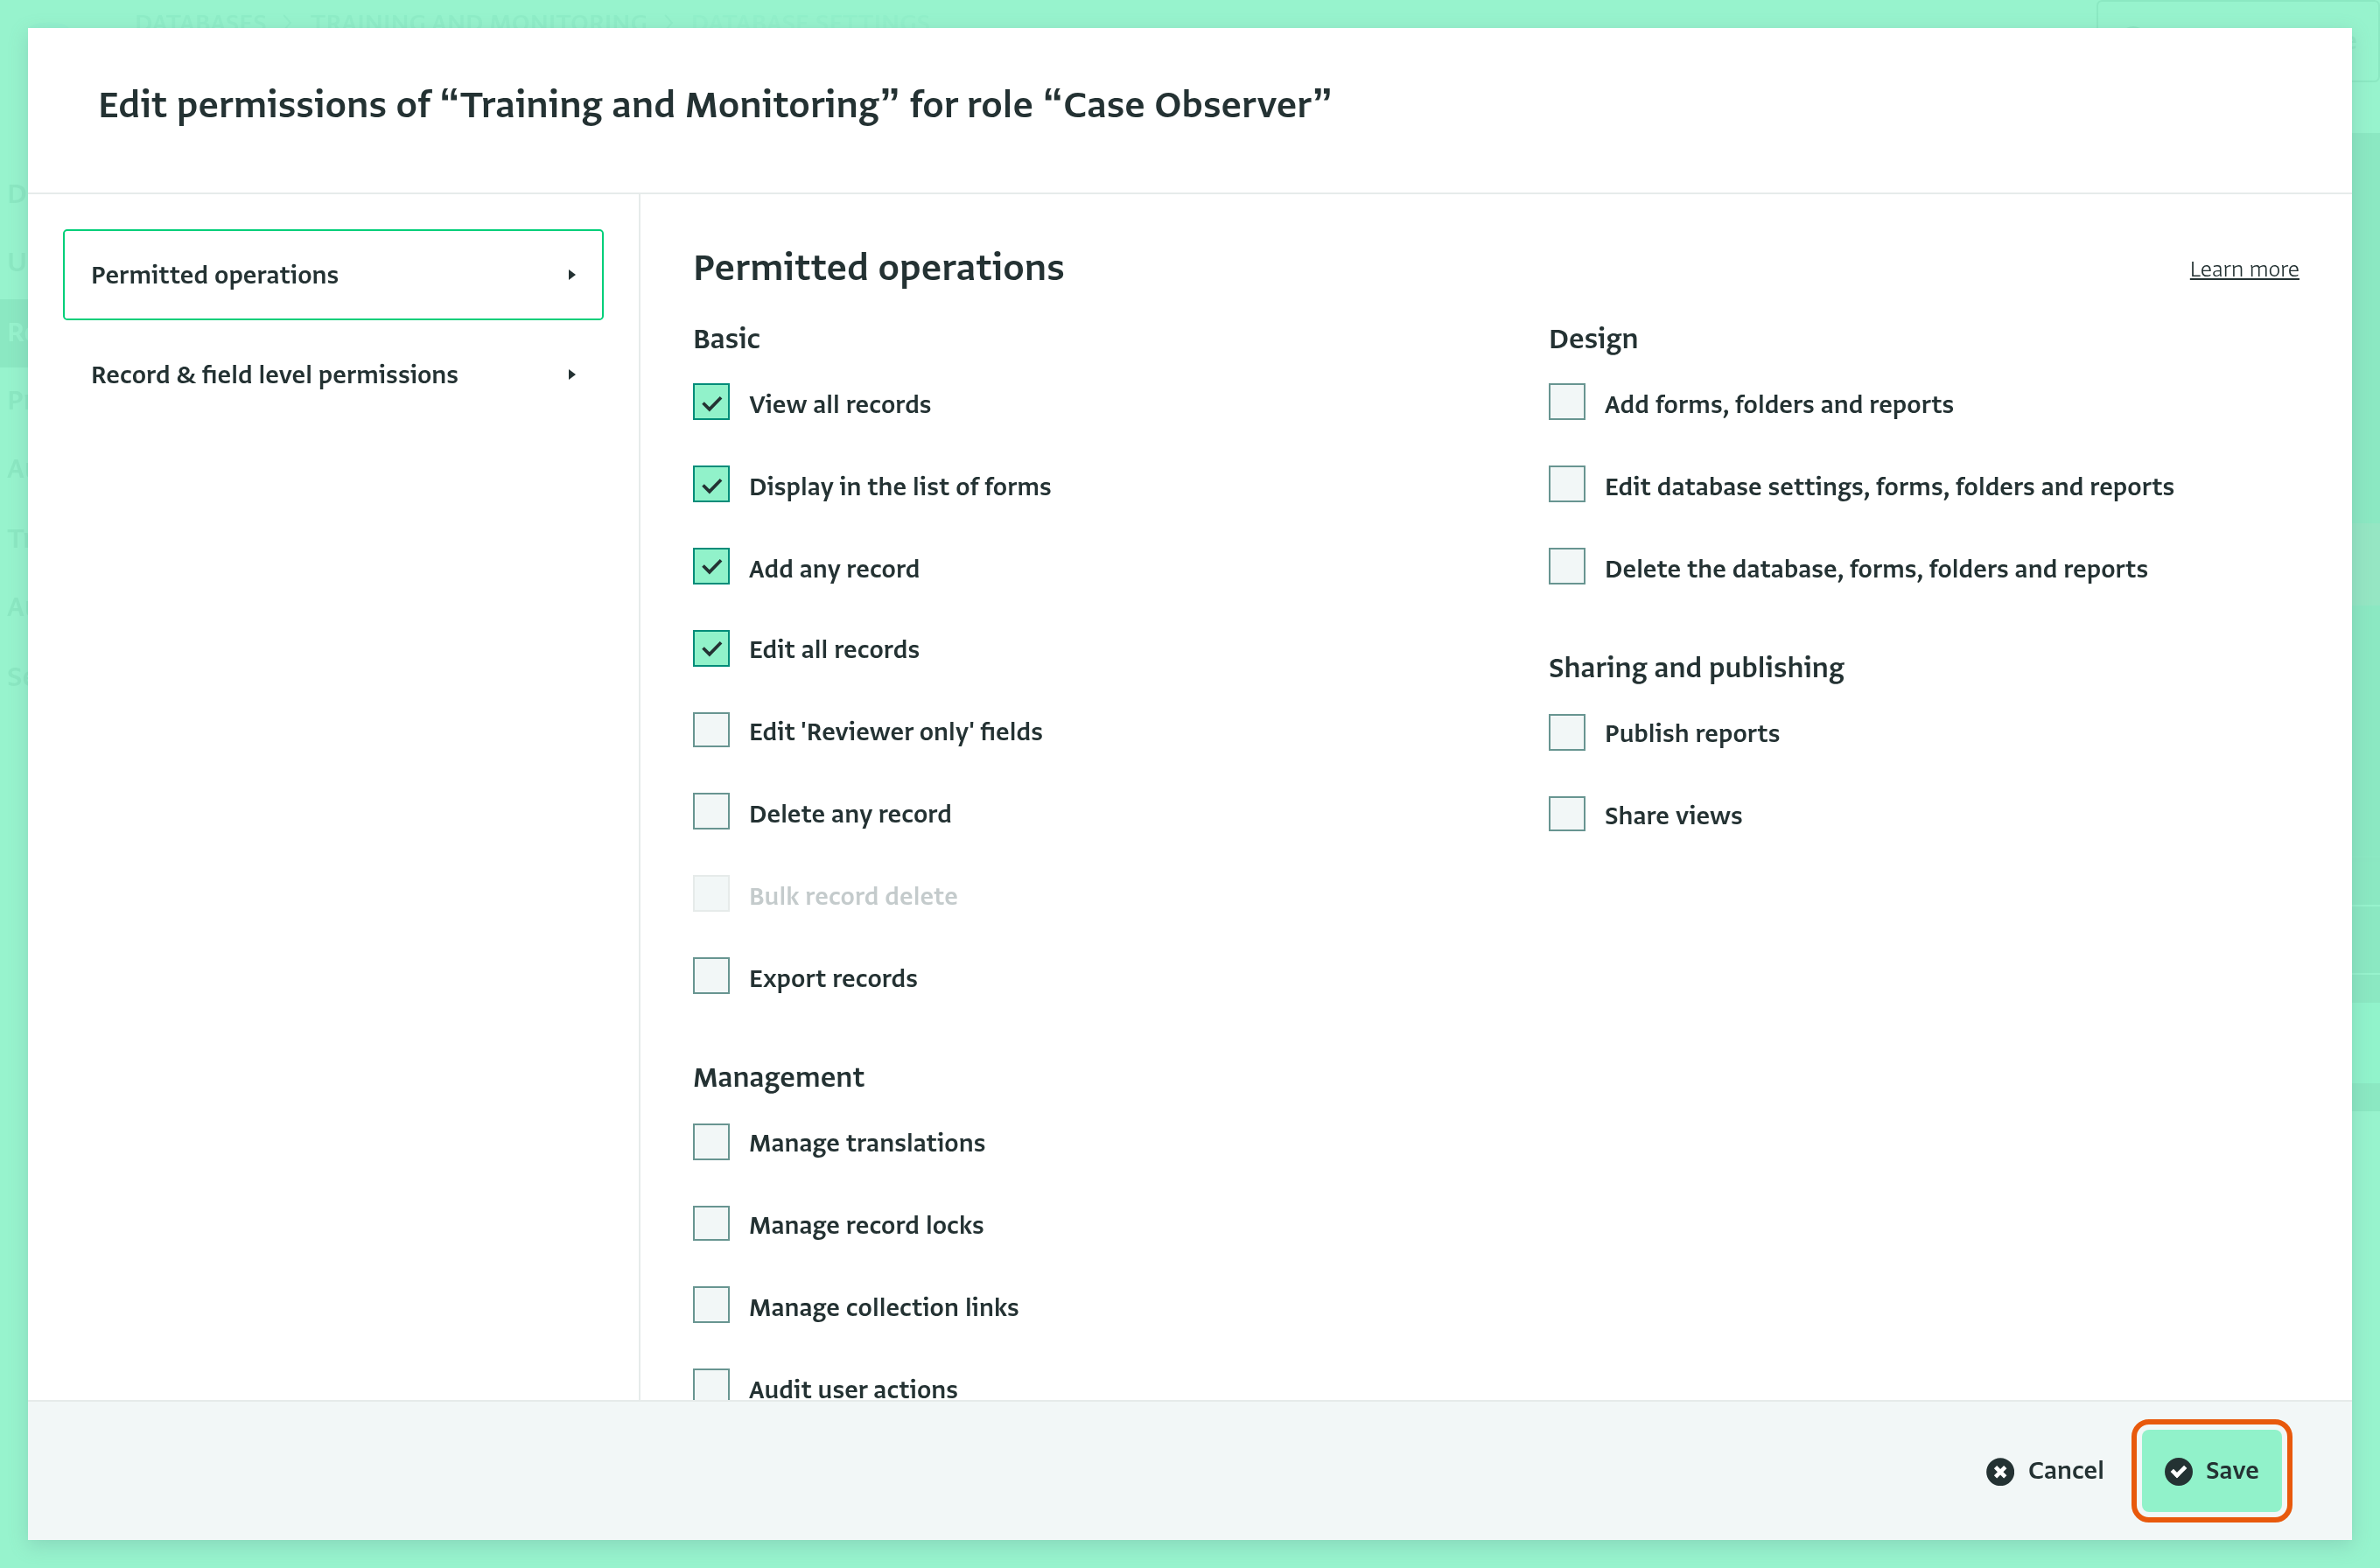
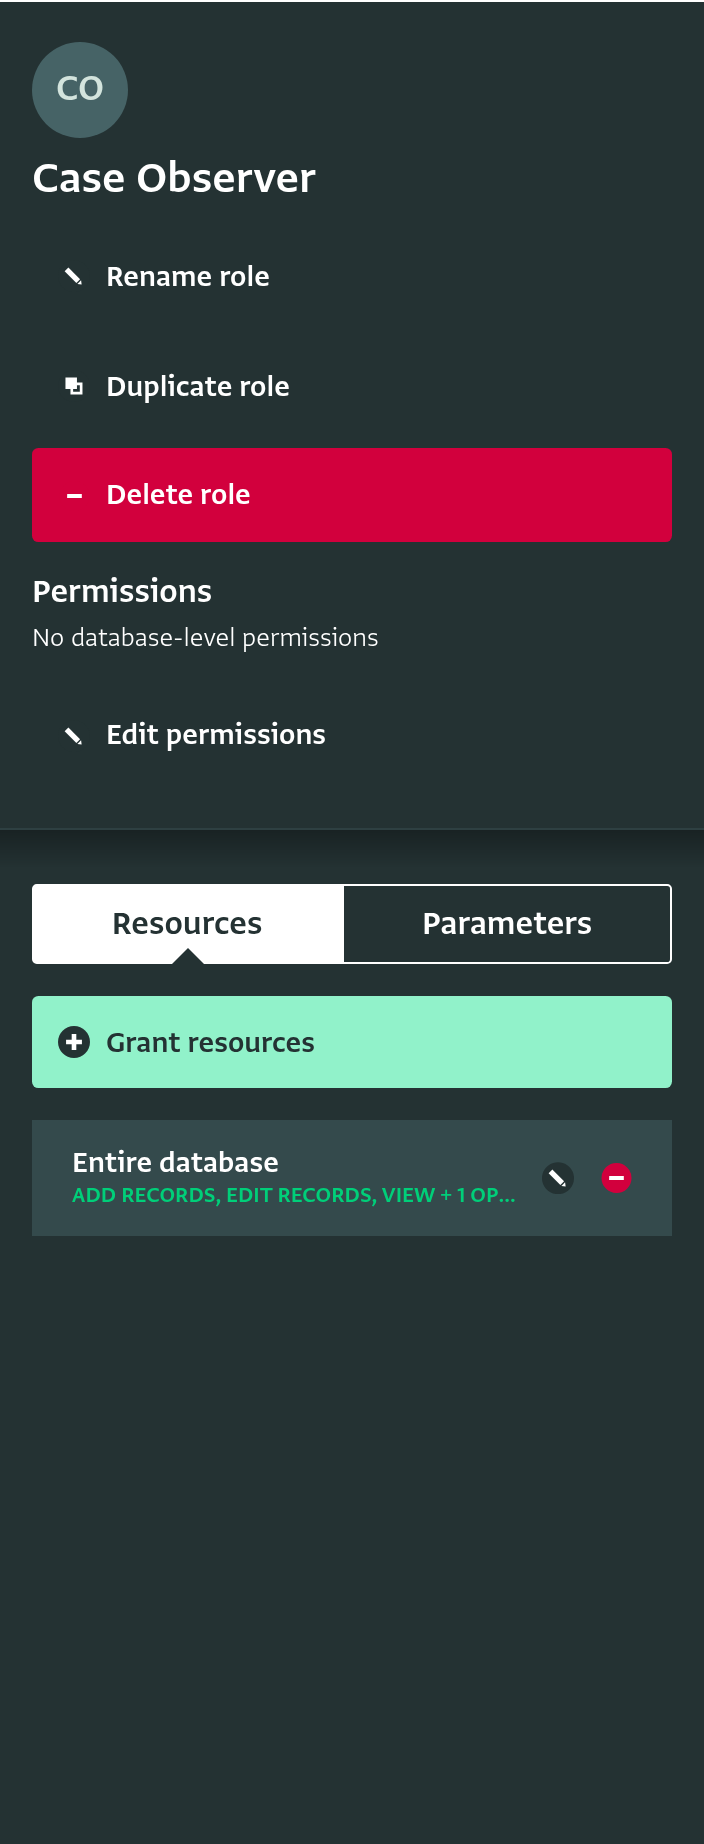
- Click “Save” to apply the selected operations to the resource. The grant appears as a card in the “Resources” tab of the side panel. To change it later, click on the edit icon of the card.
Allow the role to manage users (optional)
Case observers do not usually invite other users. If users with the new role should invite users to the database, change their role or revoke their access, follow these steps:
- In the side panel of the role, under “Permissions”, click on “Edit permissions”.
- Under “Permitted operations” and “User management”, check “Manage users”.
- Click on “Assignable roles” in the left pane of the dialog.
- Check the roles that users with this role may assign to other users, or check “Any role”.
- Click “Save”.
The side panel of the role now shows, for example, “Manage users in one role” under “Permissions”. For more information, see Understanding the Manage users permission.
You have now added your first role. You can then proceed with adding other roles following the same steps.
Now that you have created a role in your database, you may now add users to your database.