Using collection links to collect anonymous responses for a post training evaluation survey
When using ActivityInfo you have various data collection options. You can choose to create a form to collect data once or multiple times from other field offices or team members who are using the platform. You can also use a desktop computer or a mobile device and collect data offline or online. With our latest release, we give you another option. You can use Collection links to collect data from anyone without requiring them to sign in to the platform. This means that you can run anonymous surveys, work with thousands of respondents outside ActivityInfo or even use the platform for research purposes.
In this guide, we design a simple Post Training Evaluation Survey and use Collection links to collect anonymous responses from multiple respondents. We then take a look at how this data can be viewed and analyzed in real-time to support evidence-based decision making.
You can read more about Collection links in our Documentation.
If you are interested in a more thorough walkthrough on building a complete data collection system for Monitoring and Evaluation activities, please consider taking the online, free self-paced course "Mastering the basics of information management with ActivityInfo".
Add a form to collect survey data
The form design process remains the same whether you plan to collect data with Collection links or via the Data Entry page. For a more advanced structure, you can add a form with one or more subforms and share a Collection link to it.
In our example, after adding a database using the Blank database template, we will add a form for an anonymous Post Evaluation Survey on a training programme. We want to assess how satisfied the participants were with various aspects of the training. To make it easier for us to analyze the satisfaction score for each training aspect we will use a combination of Single Select fields with Calculated fields. This allows us to automatically assign scores to each training aspect based on the answers provided. Then, we will use another Calculated field to assign a total score to the respondent to reflect their overall satisfaction with the training.
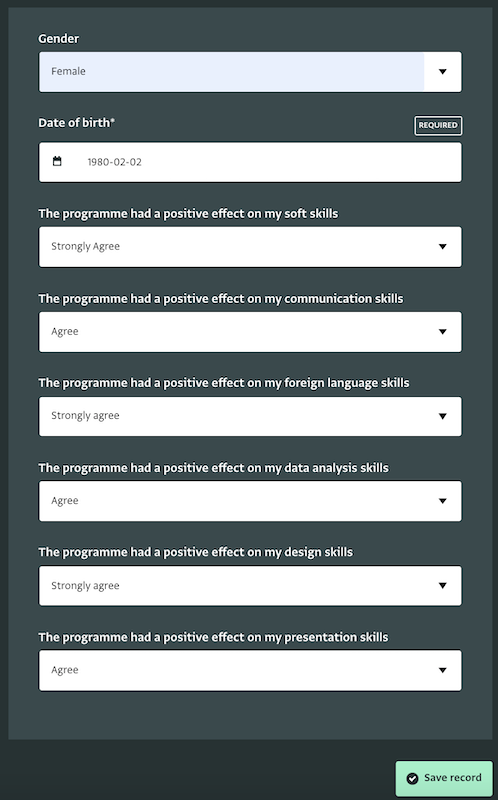
First, we collect some basic information about the respondent.
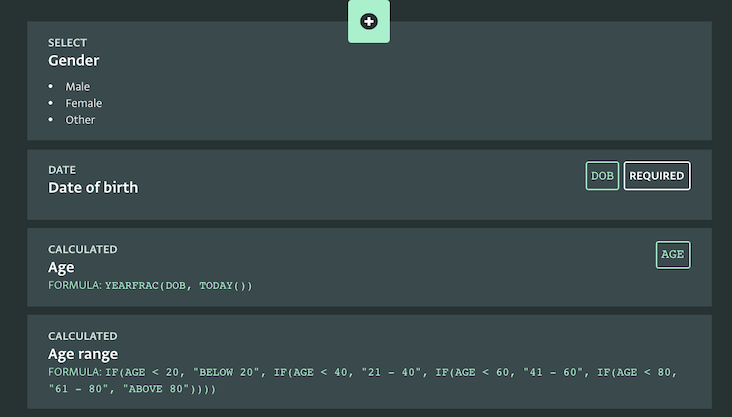
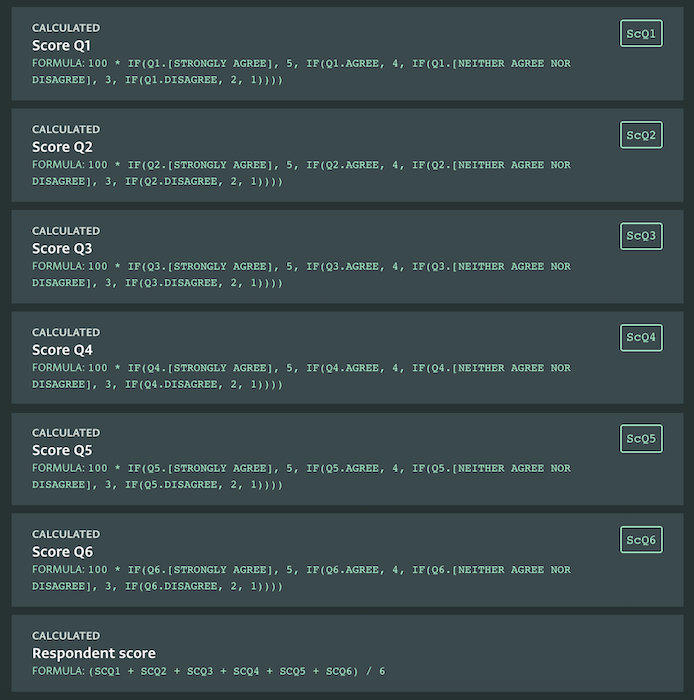
Then, we will add Single Select fields for all the aspects of the training for which we want to measure satisfaction. We will add as Options the satisfaction scale we want to use. We will add Codes to each field so as to use them easily in Calculated fields.

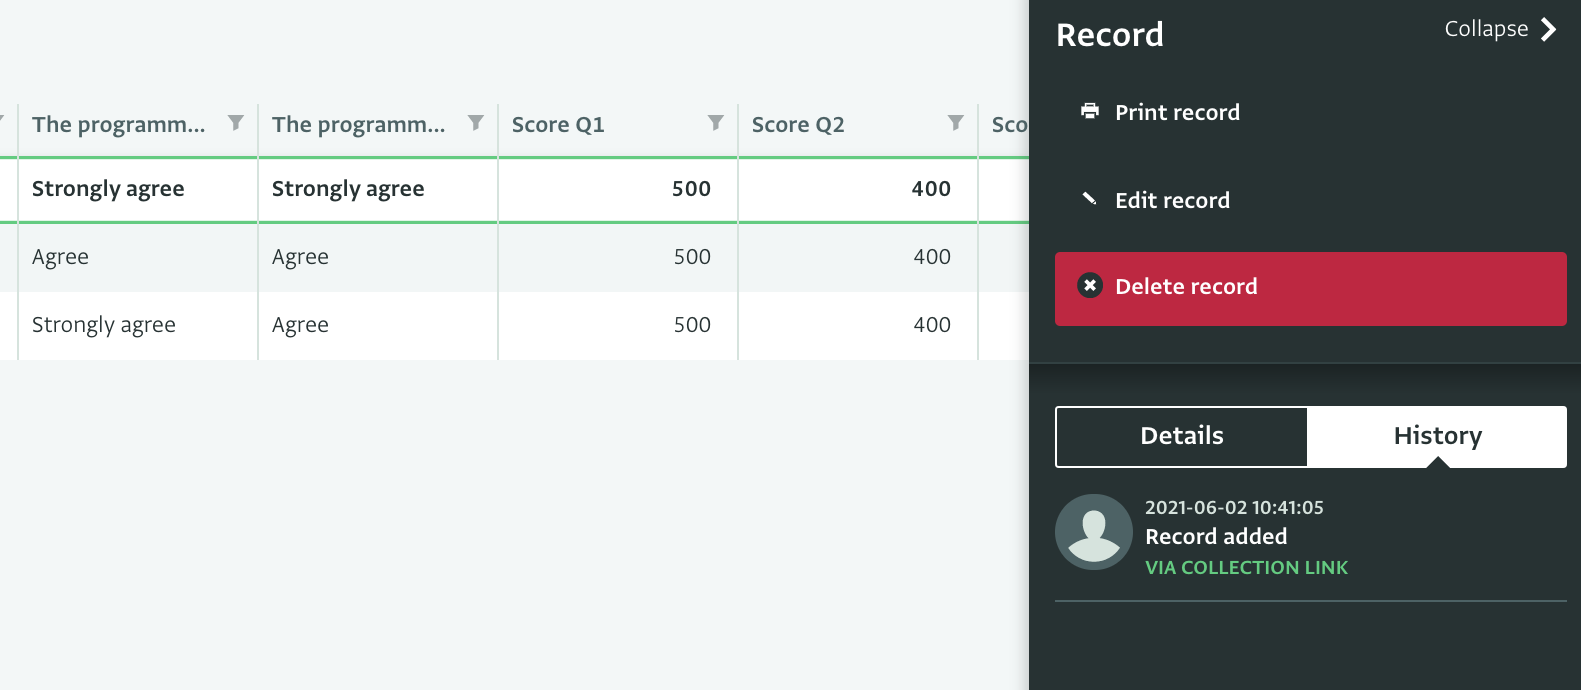
Finally, we will add Calculated fields to get the score for each question and we will use Codes for each Calculated field too. We want to give the score 500 for the response 'Strongly agree', 400 for 'Agree', 300 for 'Neither agree nor disagree', 200 for 'Disagree' and 100 for 'Strongly disagree'. So we will multiply an IF function –which will assign a 1 to 5 grade score to the Options– with 100. Then, we will add up all the scores in another Calculated field to get the overall score for the respondent.
Once the form is ready we can save it and proceed to share the Collection link to start collecting responses.
Open a Collection link to the Form
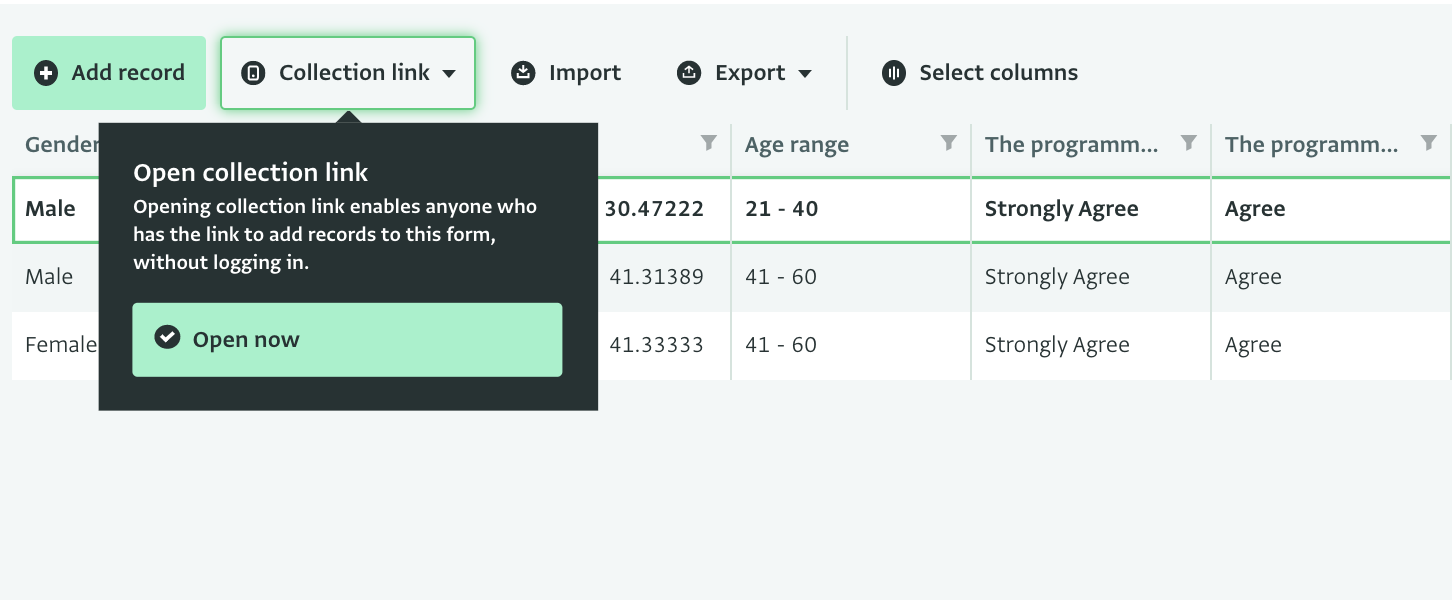
In the next step, we will create a Collection link, copy it and share it with the audience we want. To do that, in the Table View of the form, we click on 'Collection link' and then on 'Open now'. Then, we can click on 'Copy URL' to get the link so as to share it with the respondents. We can share the link in any way that is convenient, such as via email or social media.
Please note the following:
- You need to be the owner of the database or be assigned the 'Manage collection links' permission to be able to open a Collection link to a form.
- Offline data entry when accessing forms using a Collection link is not supported.
- If your form links to a reference form and its records, you need to change the visibility of the Reference form to 'public visibility' so that the respondents can view the Records in the shared form.
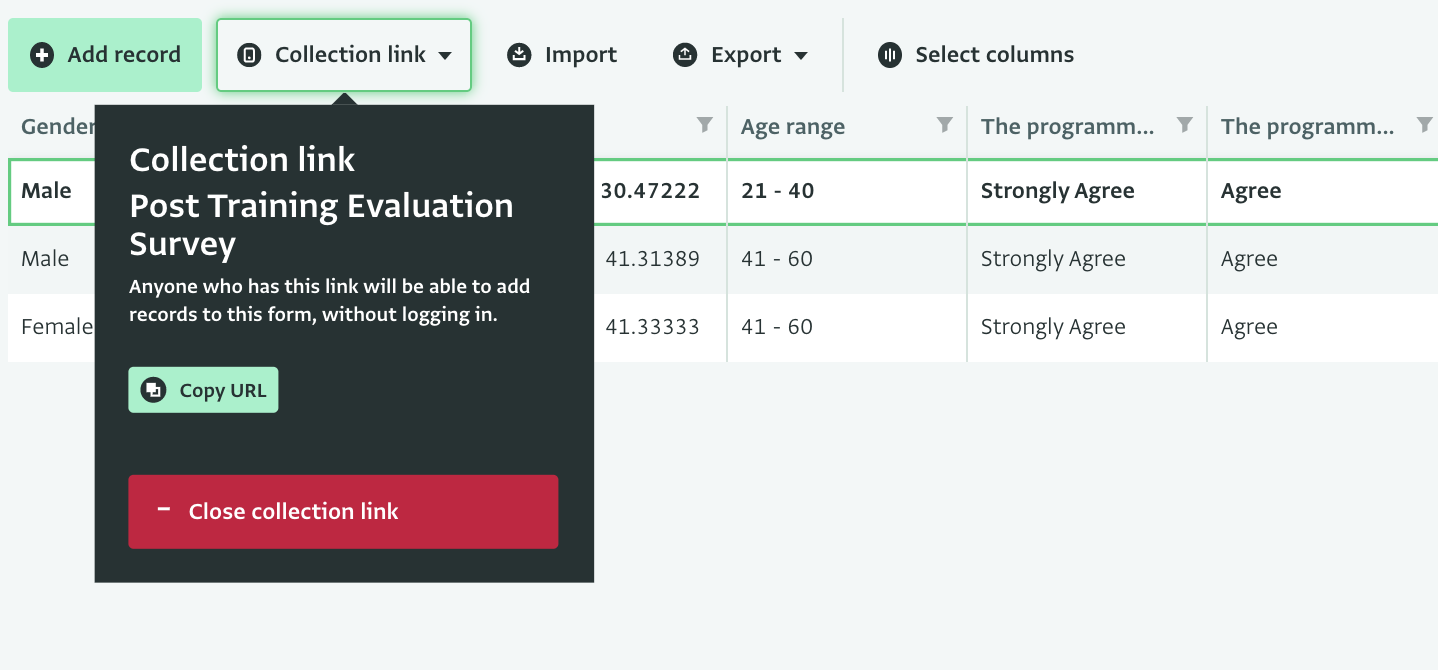
We can preview the form and how it will look to the respondents by visiting the URL. We can close the Collection link anytime by clicking on 'Close collection link'.
Collect responses
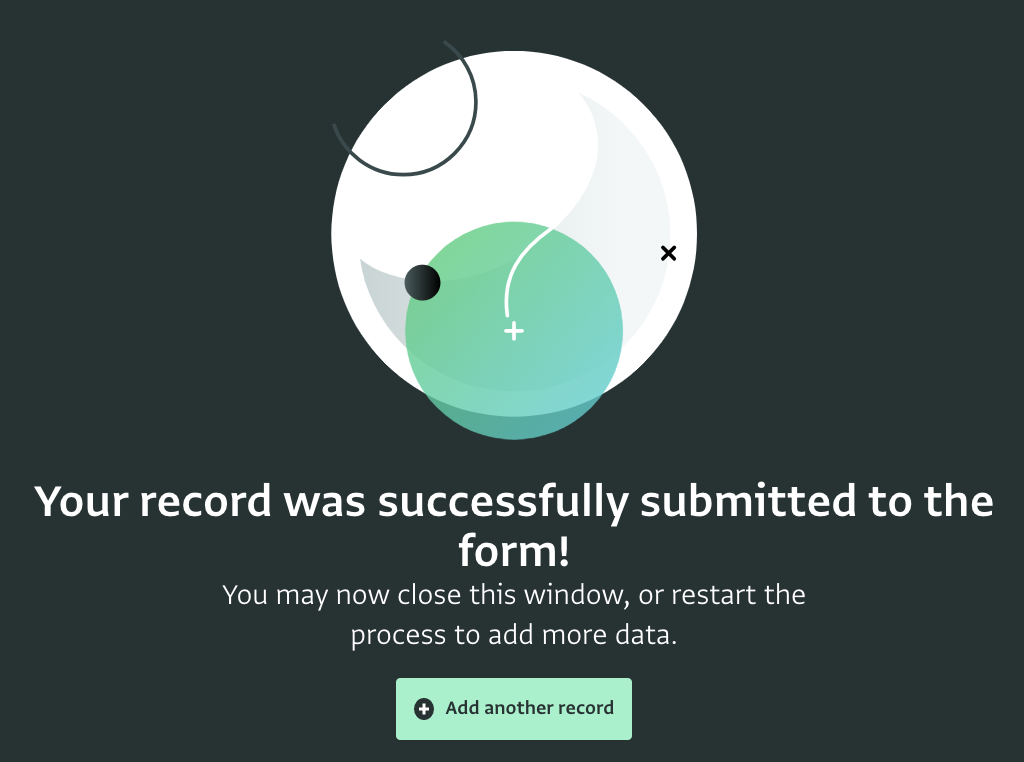
Anyone who has the link can add one or more records to the form in the same way that data entry is done on the platform. Once saved these will appear in the Table View of the form.
Viewing the added records, their history and details
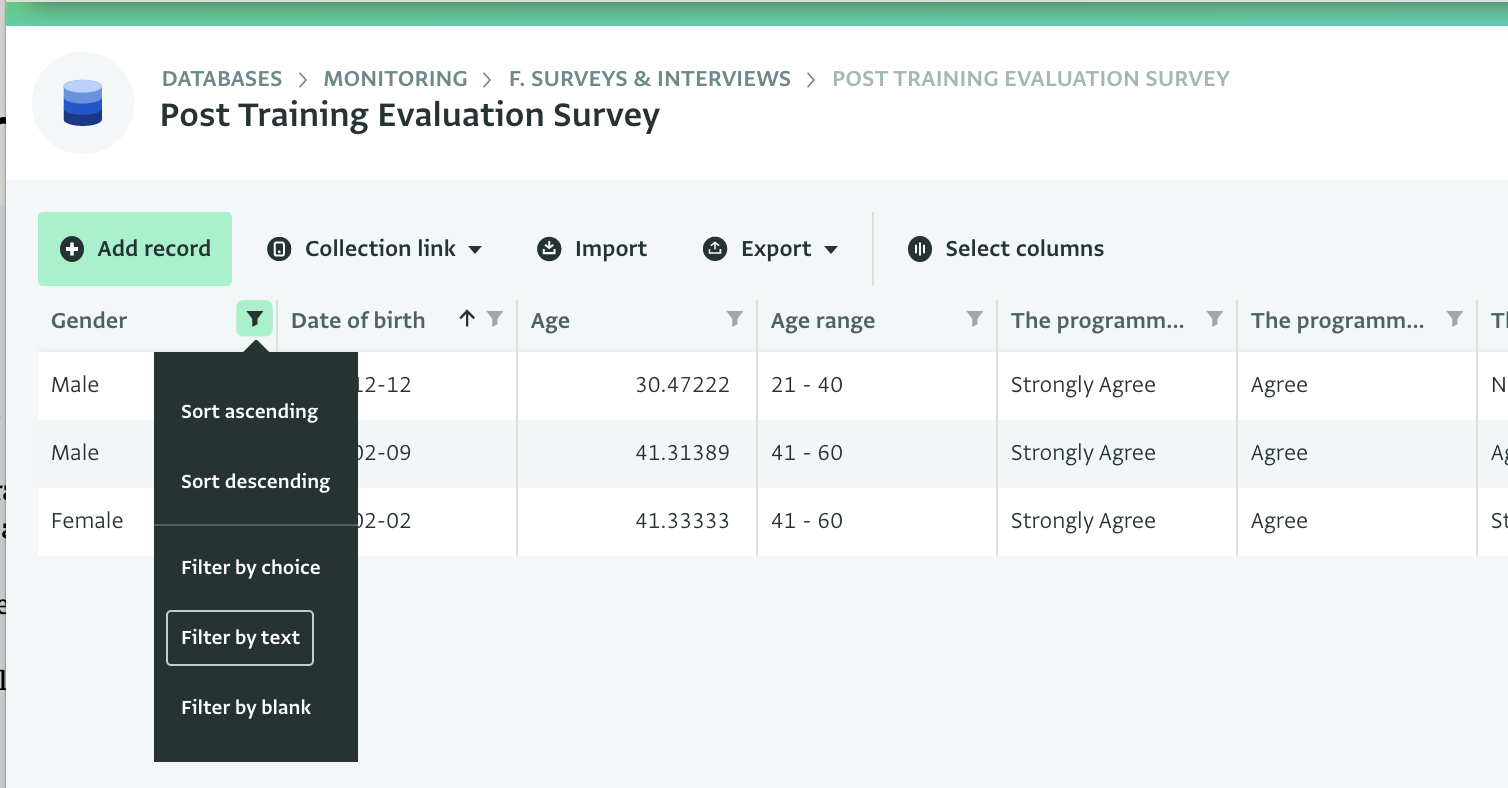
You can view all added records in the Table View. You can sort and filter the records based on your preferences. You can also choose which columns to show and which to hide or add additional calculations to the Table View. If the form collects geographical data you can also display the records on Map View.
In the record panel you can view the details and the history of the records. Since the records are added by respondents using a Collection link and without logging in to ActivityInfo, the record History will not show a username.
You can also have a centralized overview of all the actions in a database in the Audit log too.
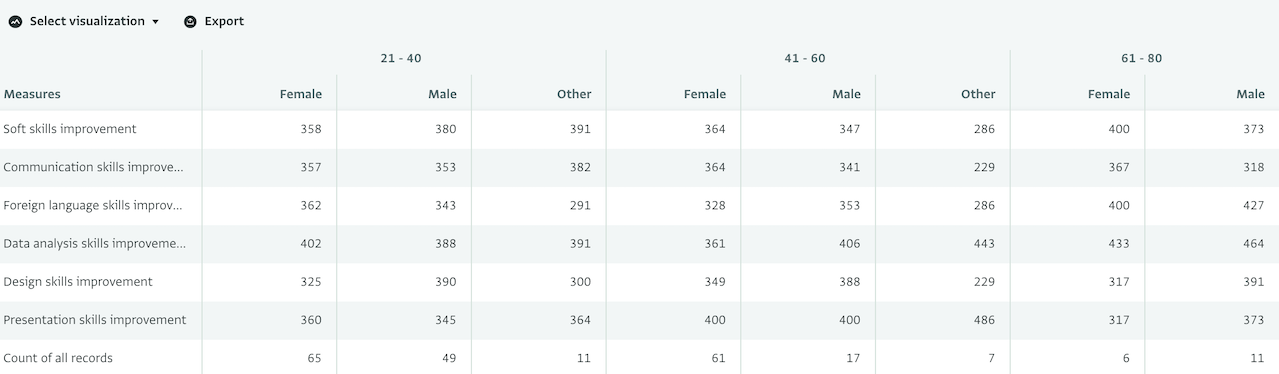
Analyze the data using pivot tables or maps
Finally, you can start analyzing the data you have collected using a pivot table or a map report, if they include geographic references. You can also share the report with other users or publish it for the world to see.
Congratulations for completing this Guide! What do you think of the Collection links? Will you be using them?