ActivityInfo relies on Mapbox for map tiles based on Open Street Map, as well as satellite imagery. If you want to use ActivityInfo's mapping features in the self-managed server, you must have your own Mapbox account and configure your server with your Mapbox access token.
Opening a Mapbox account
Mapbox offers a free tier that allows you to get started at no cost. You can sign up for a new account by navigating to mapbox.com and clicking "Sign Up".
Note that ActivityInfo never sends any data you store in ActivityInfo to Mapbox.
Creating an access token
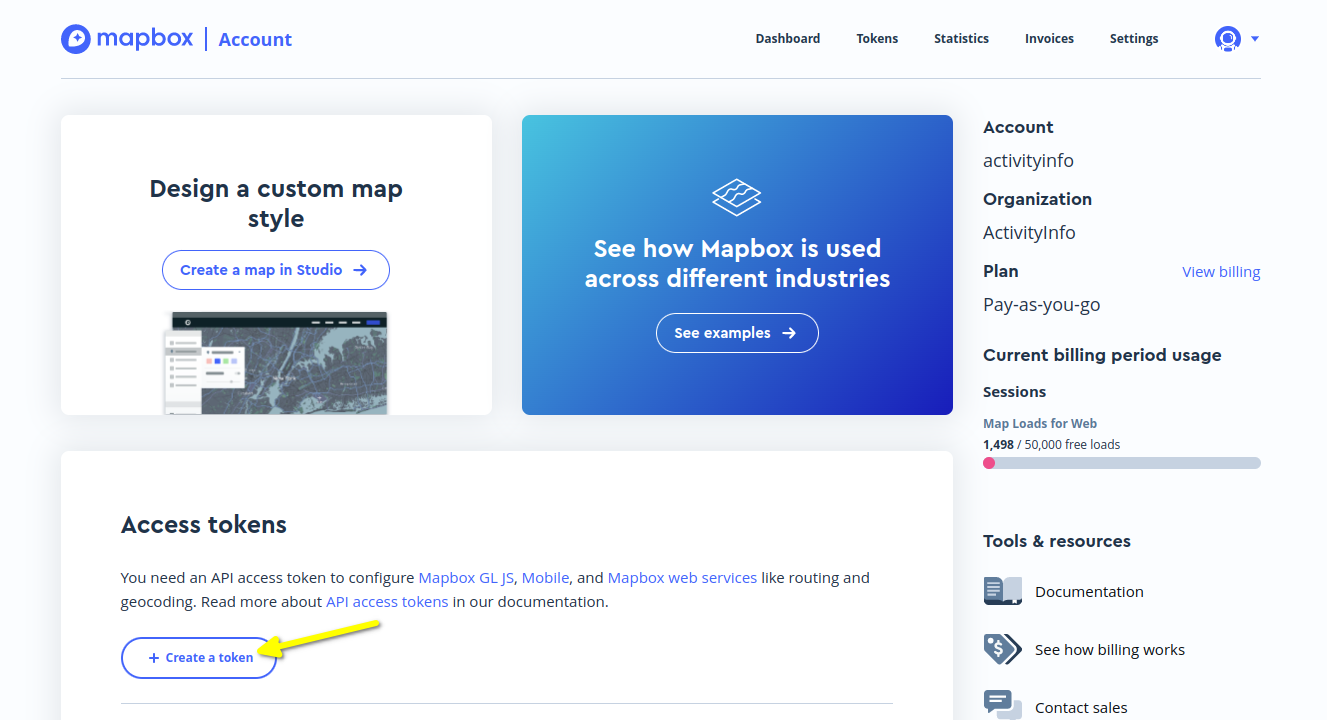
Navigate to your Mapbox account page. In the "Access tokens" section, click "Create a token":
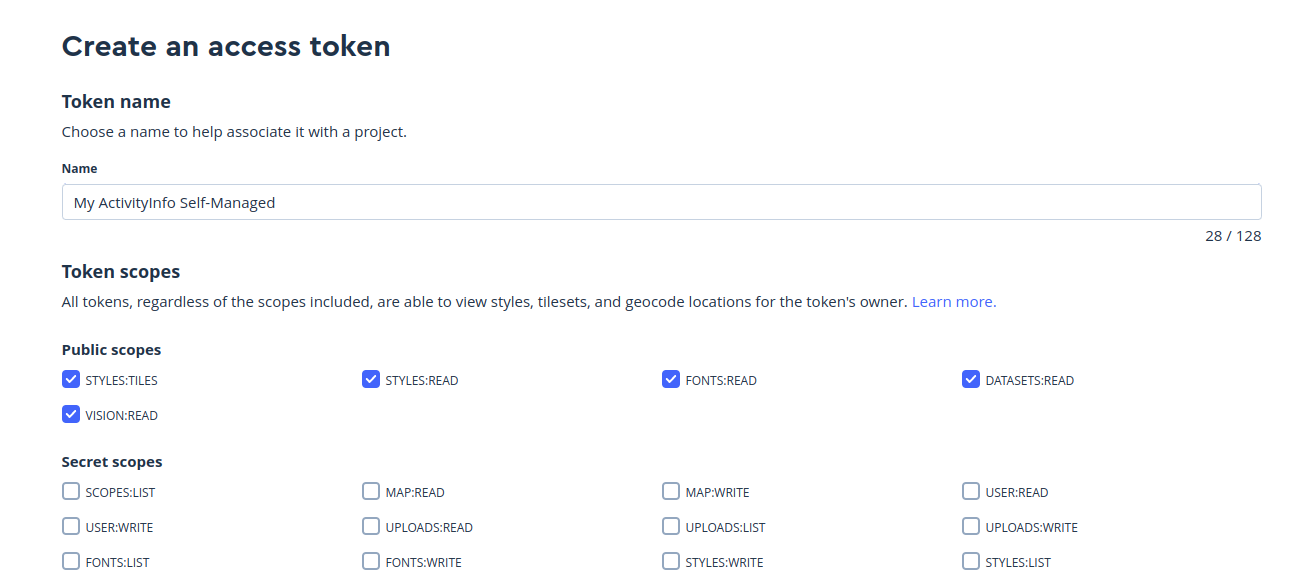
You can use any text for the token name, for example "My ActivityInfo Self-Managed Token".
Keep all of the "Public scopes" checked. Do not include any "Secret scopes."
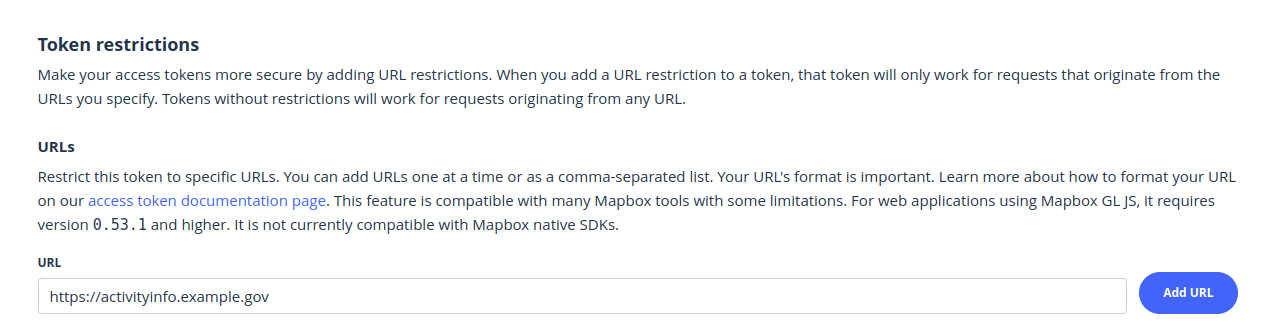
In the "Token Restrictions" section, we recommend entering the URL of your ActivityInfo deployment as the URL, for example "https://activityinfo.example.gov". This will prevent users of your deployment from using your token for another website and potentially incurring costs to your Mapbox account.
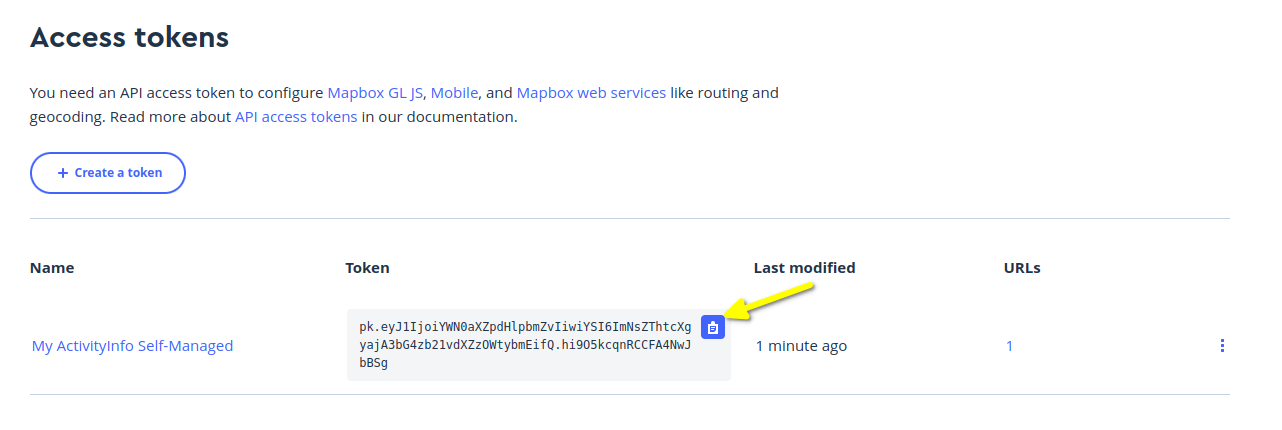
Finally, click the "Create token" button to finish creation of your token. Your new token will appear in your list of access tokens. Click the clipboard icon to copy the new token to the clipboard.
Adding the token to ActivityInfo
Navigate to Server Settings, then to "External API Keys".
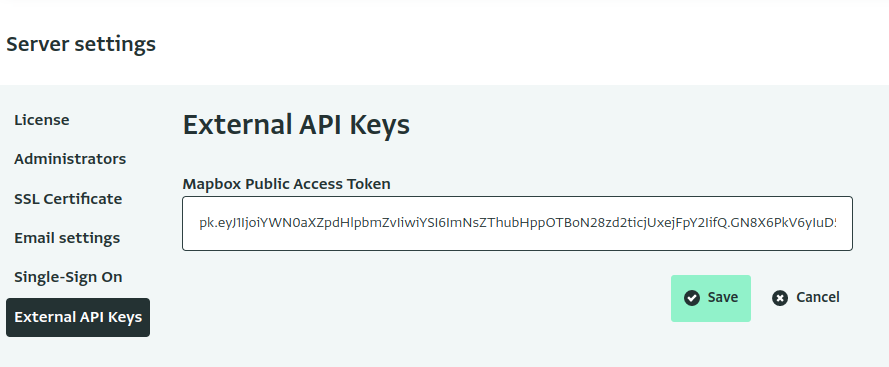
Paste the key from Mapbox into the text box and then click "Save".