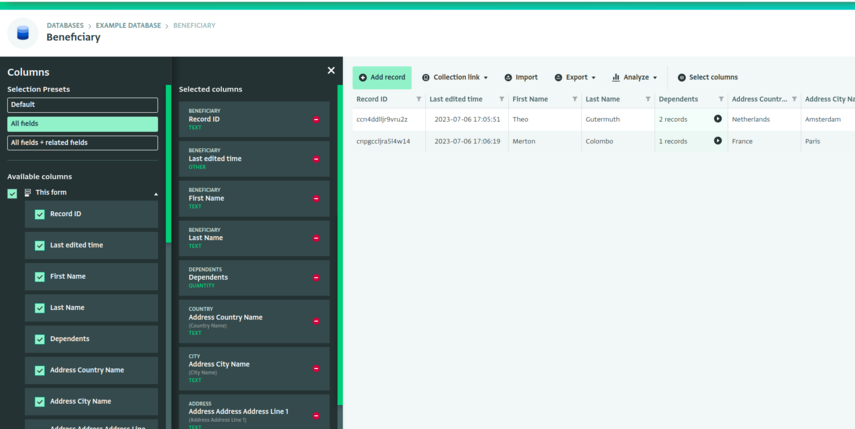
The following section describes the steps for selecting which columns to view in the Table View. This allows you to view only the Records you need. It is also a handy action if you want to customize your queries for the ActivityInfo API.
You can also filter the Records to customize what you view.
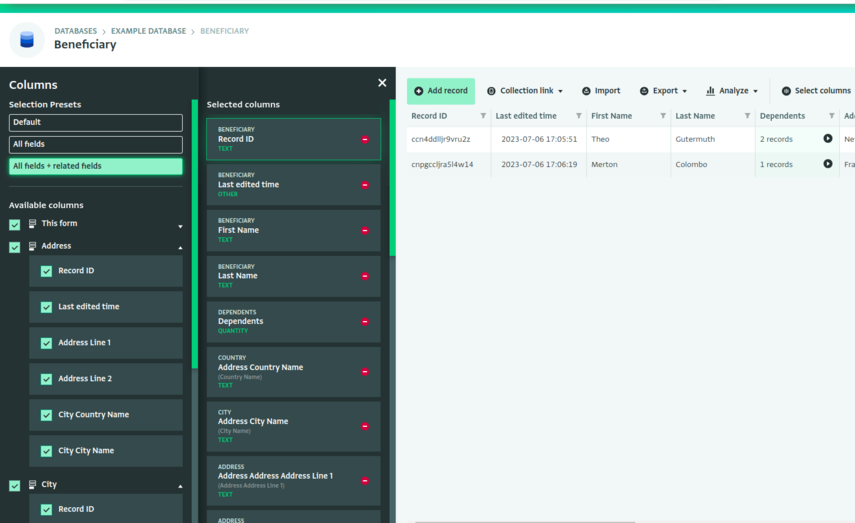
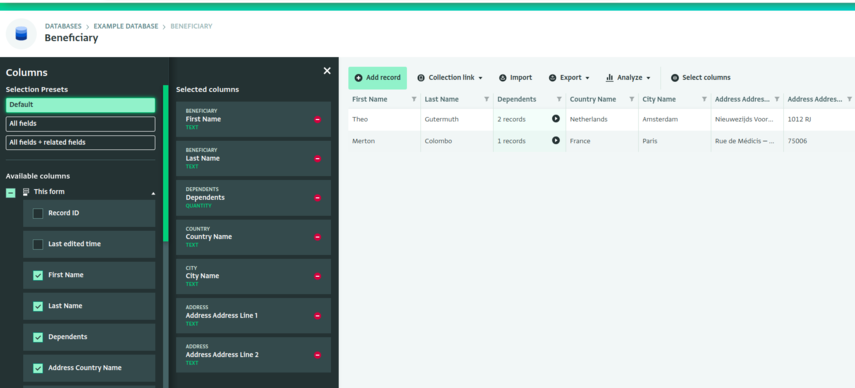
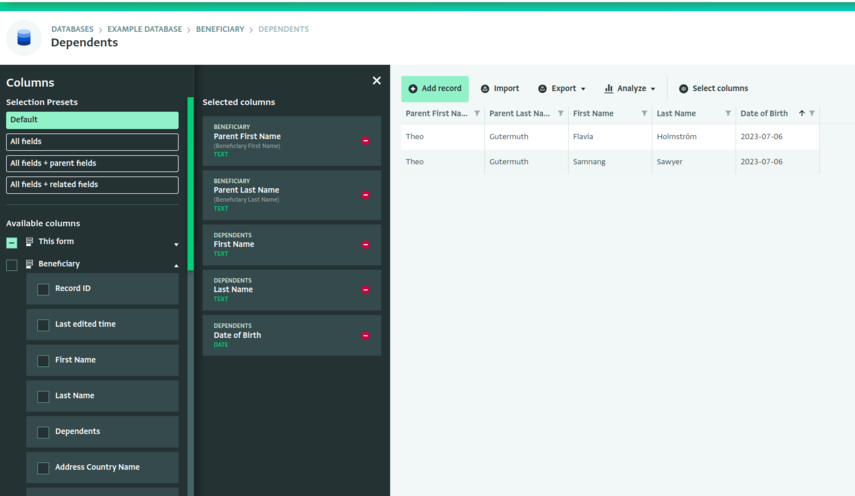
You can use selection presets to quickly select fields from your related forms to view in the Table View.
How to Select Columns
- Navigate to your Form.
- Click on the "Select columns" button to open the Select columns side panel.

Manual Selection
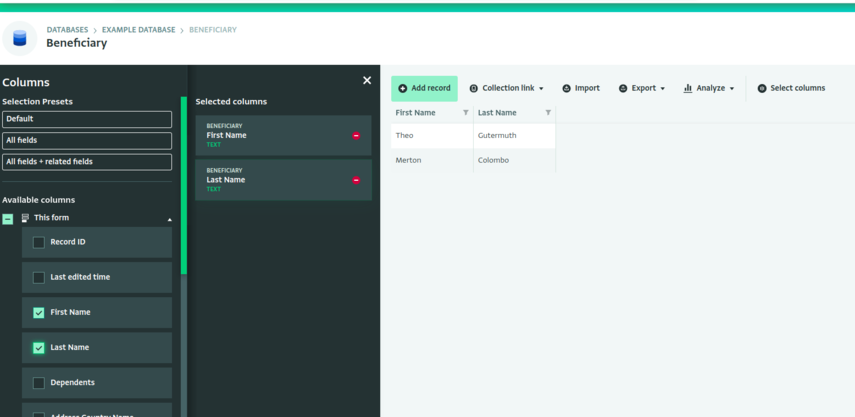
- On the column selection side panel, choose fields you want to view from the "Available columns" list. To add them to the "Selected columns" list, click the checkbox next to the field.
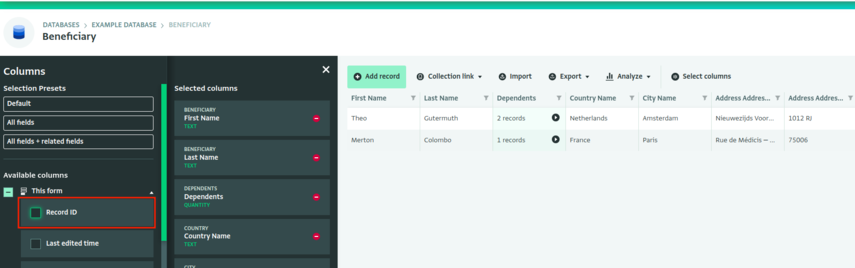
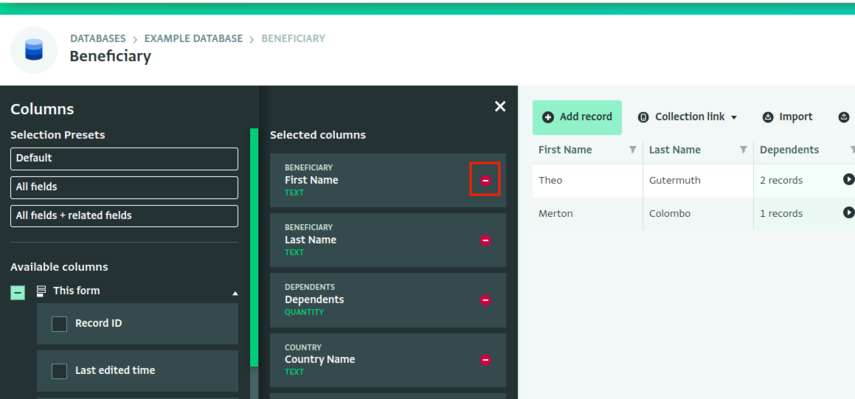
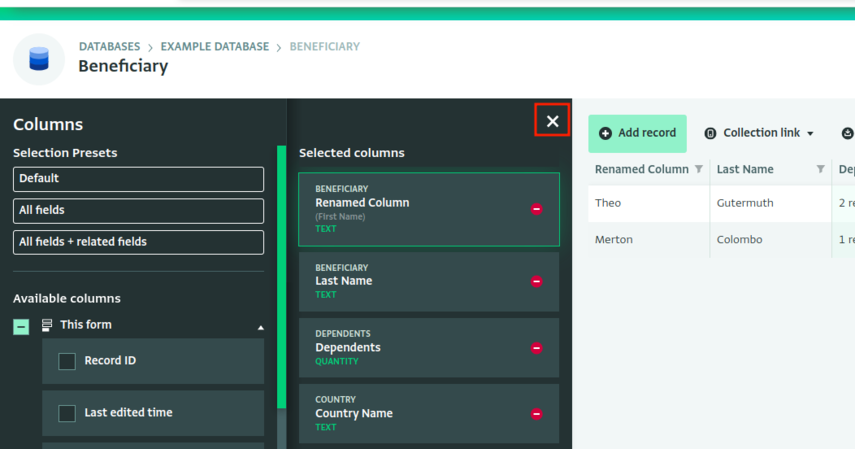
- To remove a column from the "Selected columns" list, click on the red delete button on the column. Alternatively, click column that you want to remove and click on the "Delete" button.
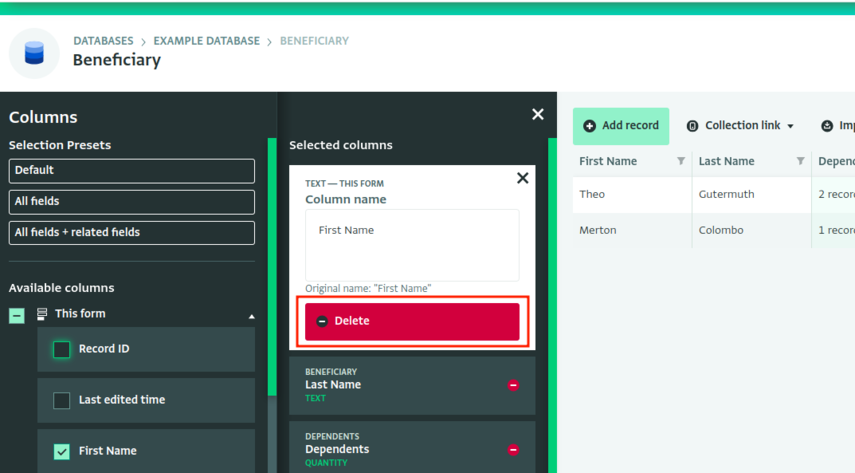
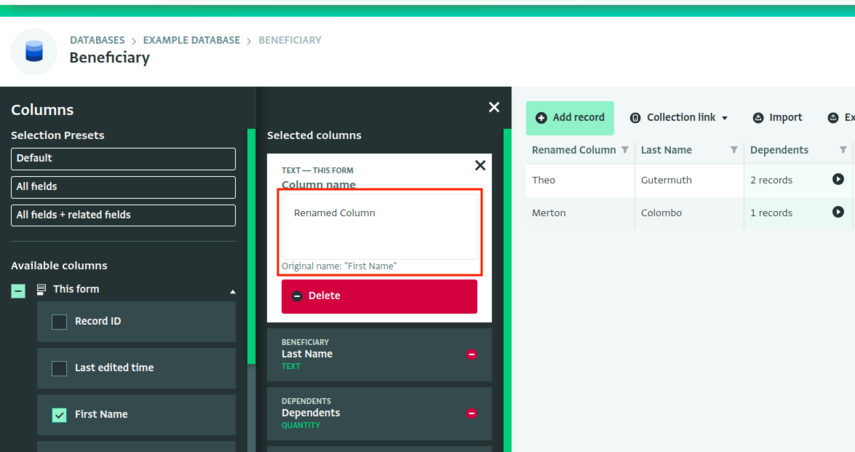
- You can also rename a column. This will change the header in the Table View but will not affect the Data Entry page. You can also see the original name for reference.
- Once you have selected all the columns you want to view, click on the "X" mark on the top right corner of the column selection side panel.
- You can also quickly select all of the fields on a form by clicking the checkbox next to the form name.

- The selected columns will appear in the Table View.

Please note that the changes you make to the Table View will only be visible to you. Selecting Columns doesn't affect how other users view the Records of the Table View.
Preset Selection
You can quickly select multiple columns from your form, and any related forms, using selection presets.
- Selecting a preset will overwrite your current selections.
- Once you select a preset selection, you are free to make additional column selections or remove columns as needed. You can always reuse the preset.
Note: some fields, such as attachment fields, will not be selected via the preset selection options.
Default preset
The default selection is the state of the form when you first open the Table View. You can use the "default" preset to reset your selection back to the default state.
All fields preset
The "all fields" preset selects all of the fields from the current form you have open in the Table View.

All fields + parent fields preset
When you viewing a subform, the "all fields + parent fields" preset selects all of the fields from the current form you have open in the Table View, as well as all fields from parent forms.
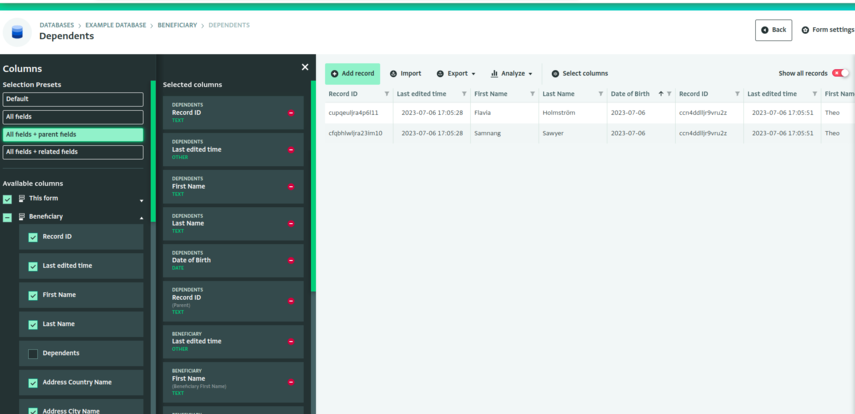
All fields + related fields preset
The "all fields + related fields" preset selects all of the fields from the current form you have open in the Table View, as well as all fields from related forms which are linked via reference fields.